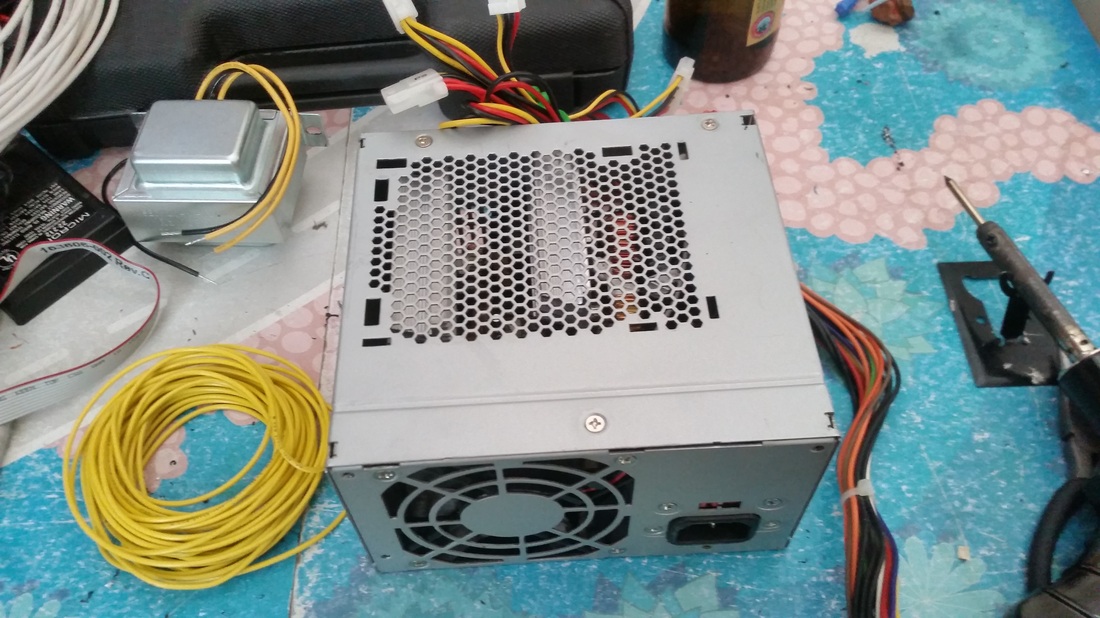
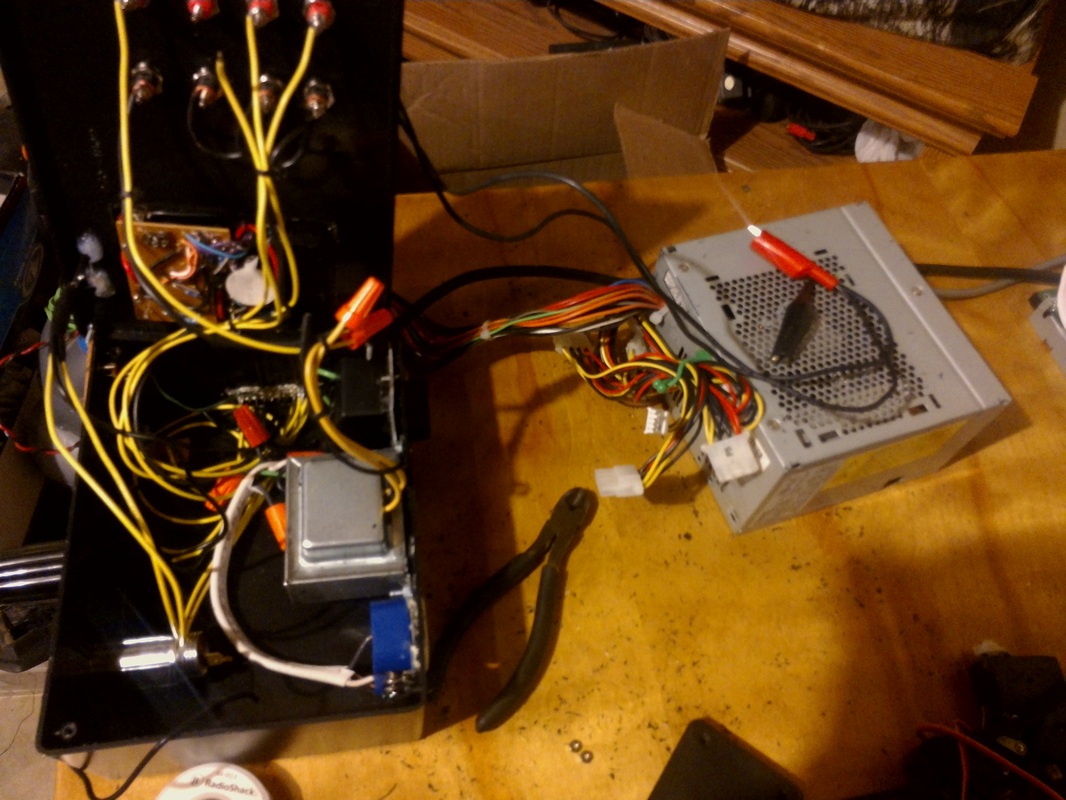
The ATX power supply can be found in many old desktop computers. Mine came from an old PC that was running windows ME. The ATX has 12Vdc, 5Vdc & 3.3Vdc terminals ready to go. It also has built in overload protection, making it an ideal power supply for prototyping.
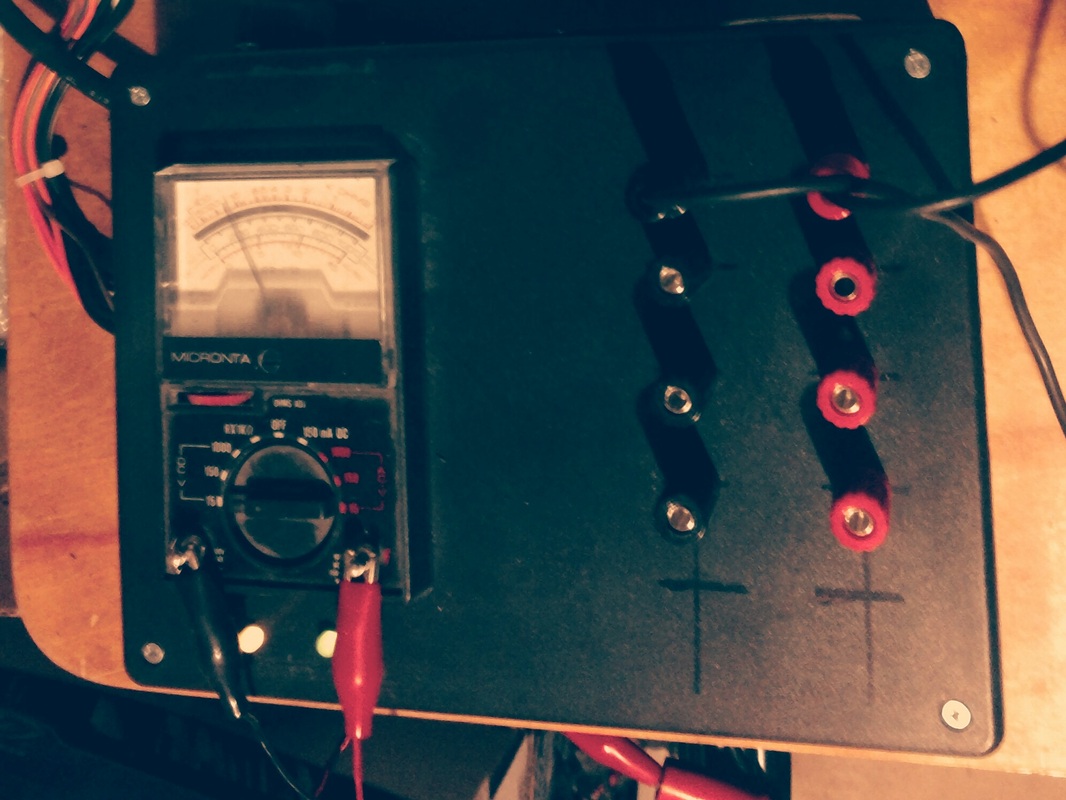
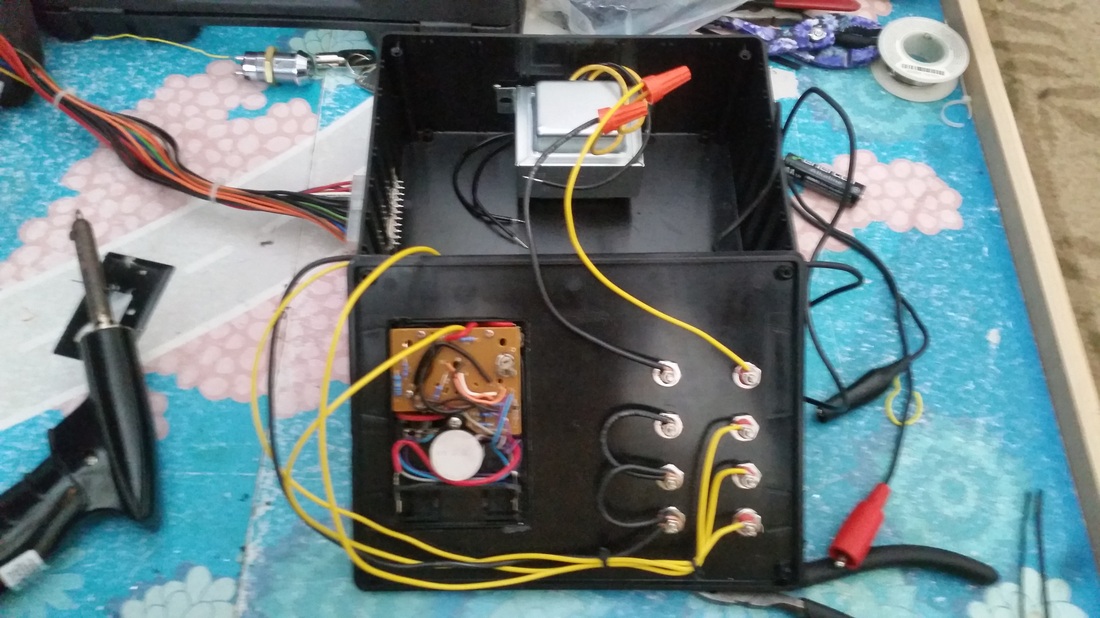
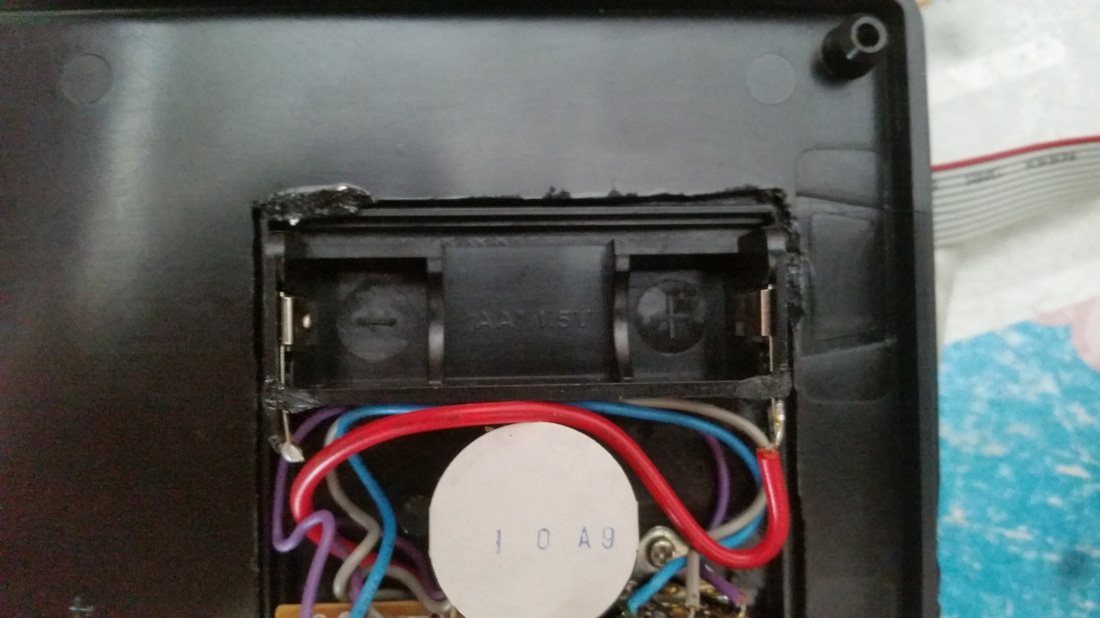
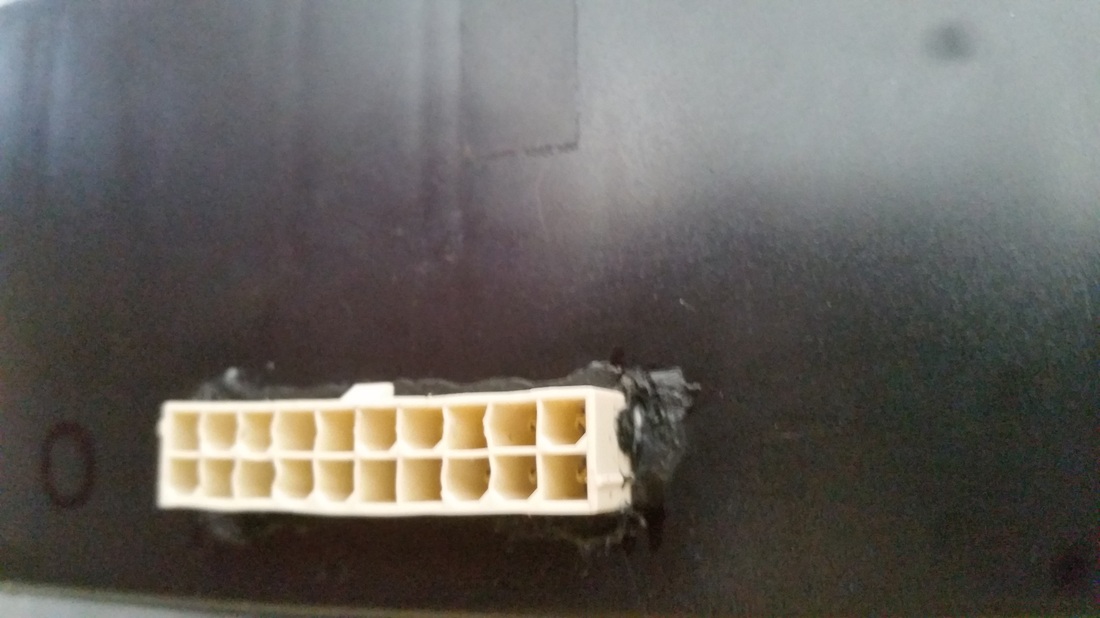
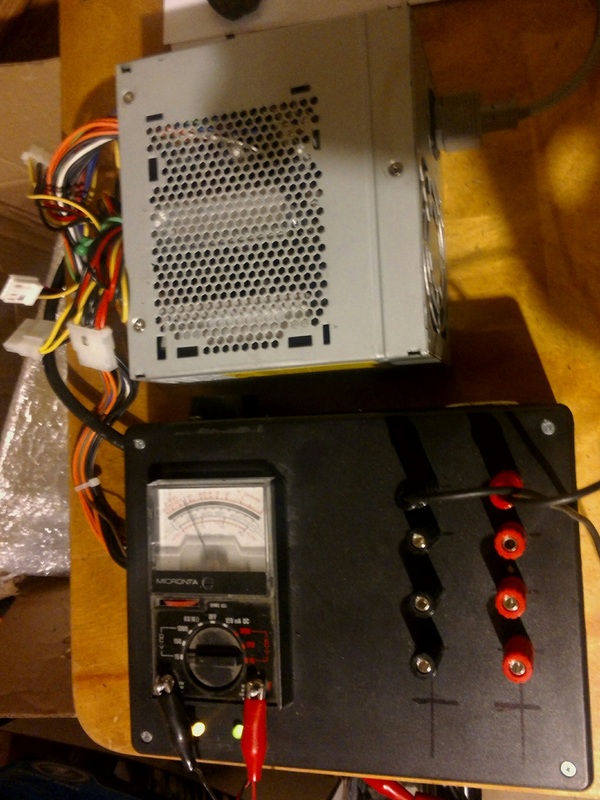
I decided to integrate a old multimeter I had laying around Into my power supply. This will be handy when troubleshooting new circuits. I was able to salvage the origal connector from the PCs motherboard. To attach both the multimeter and the connector to my project enclosure, I used an old tip on my soldering iron and welded the plastics together.
To make the most of my power supply, I decided to add some AC voltage as well. I included a 120V to 24V AC transformer and a 120V outlet connected through a dimmer switch, which gives me a range of about 80V-120V. Finally, I squeezed in a couple of USB ports connected to the ATX 5Vdc terminals and a 12Vdc automotive power socket connected to the 12Vdc terminals of the ATX.
| This is a typical pin layout for the ATX, although not all are the same. By jumping one of the com pins to the PS On pin the ATX powers on. I made this connection with an on/off switch and used one of the 5Vdc pins for a standby LED indicator. The PWR OK pin is used for a second LED indicator. The end result is an extremely useful, although bulky bench power supply that inludes terminals for 3.3Vdc, 5Vdc, 12Vdc, 24VAC, 80-120VAC. |
A Better Power Supply
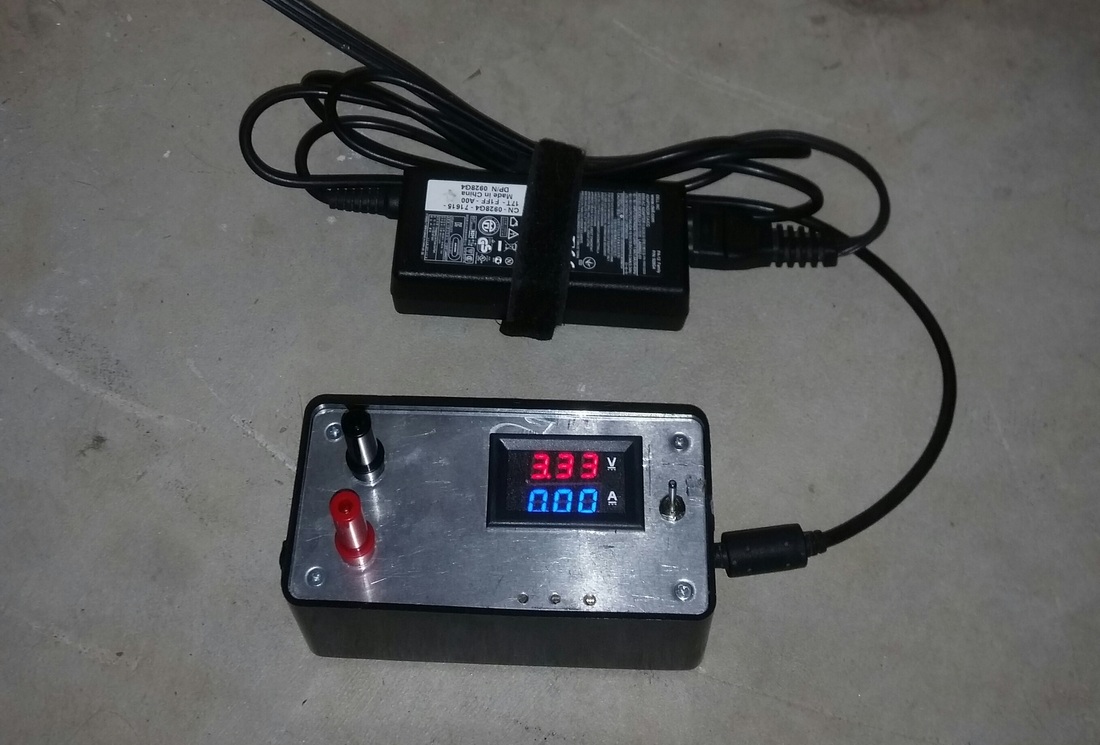
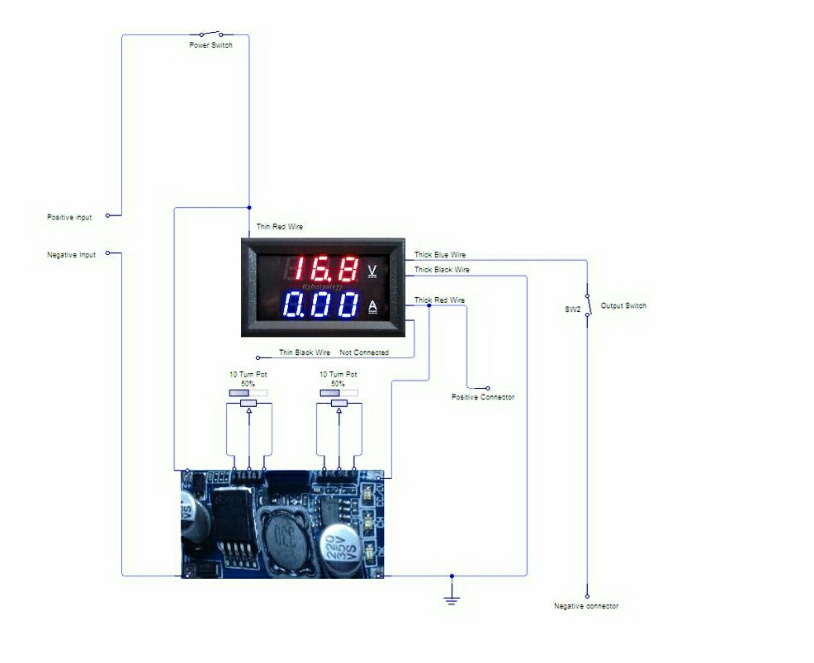
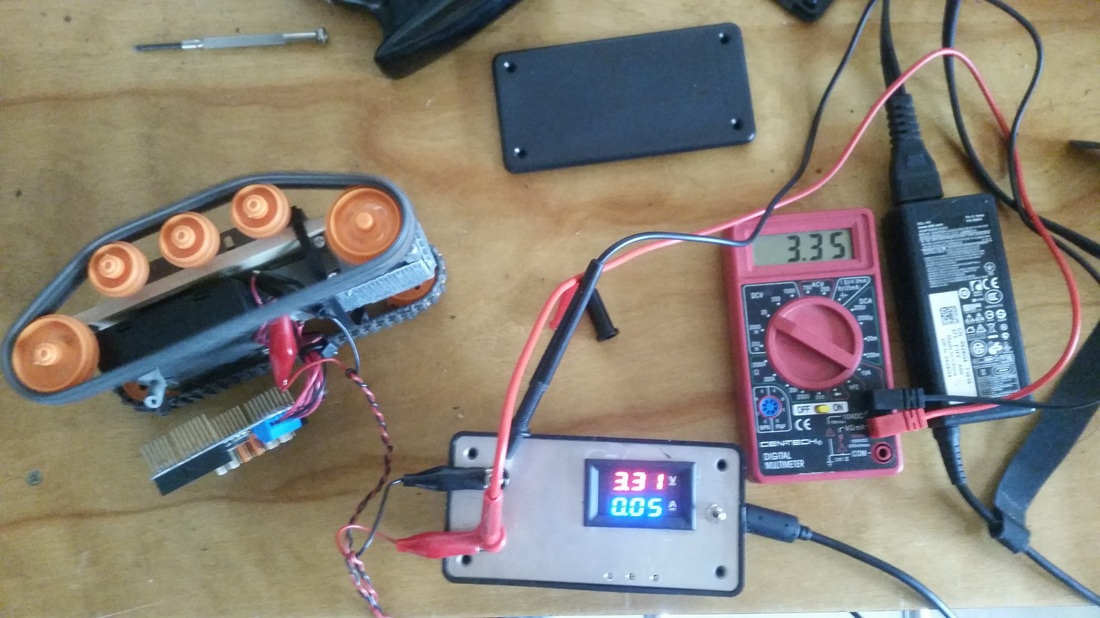
With this power supply voltage is adjustable from 0-23Vdc and amperage is adjustable from 0-3 amps.
Inspired by _http://www.instructables.com/id/DIY-Small-Bench-Power-Supply/
Inspired by _http://www.instructables.com/id/DIY-Small-Bench-Power-Supply/
With the ability to dial in voltage and make adjustments to amperage this power supply is a huge improvement over the ATX power supply, although both have their place in my workshop.
