DivideWorks
  • HOME
  • PROJECTS
  • CONTACT

STEERING WHEEL MOUNT FOR GEARVR CONTROLLER

8/26/2017

0 Comments

 
Picture
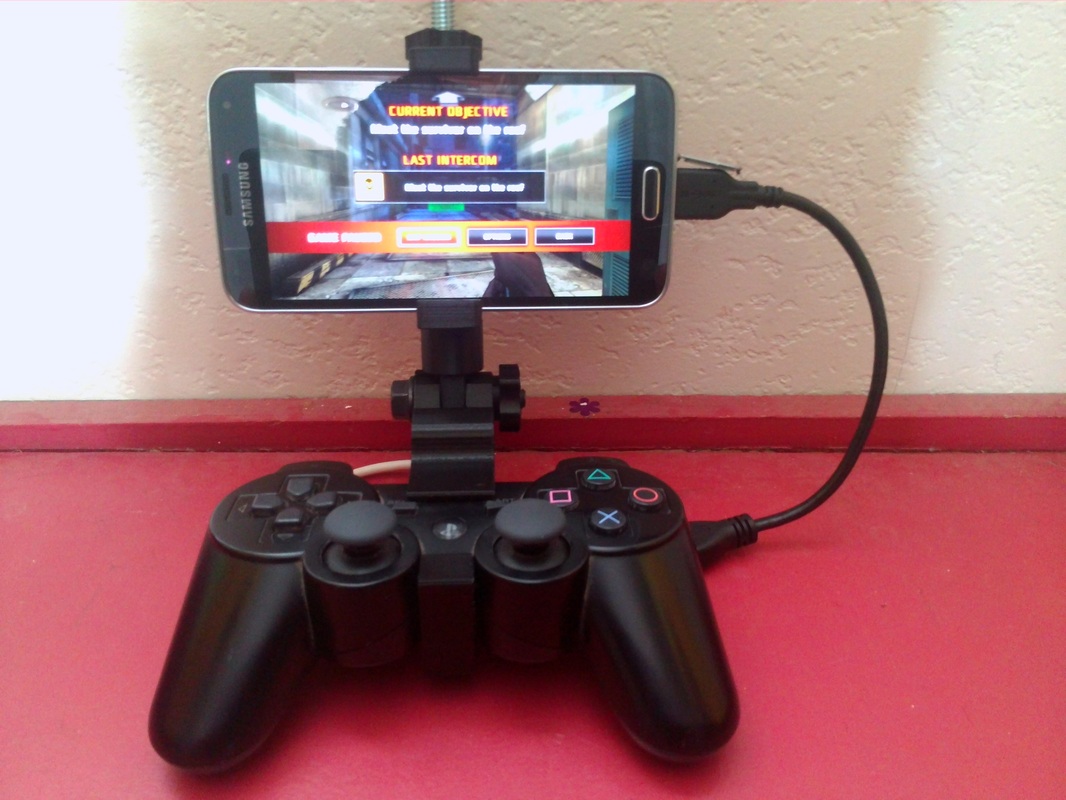
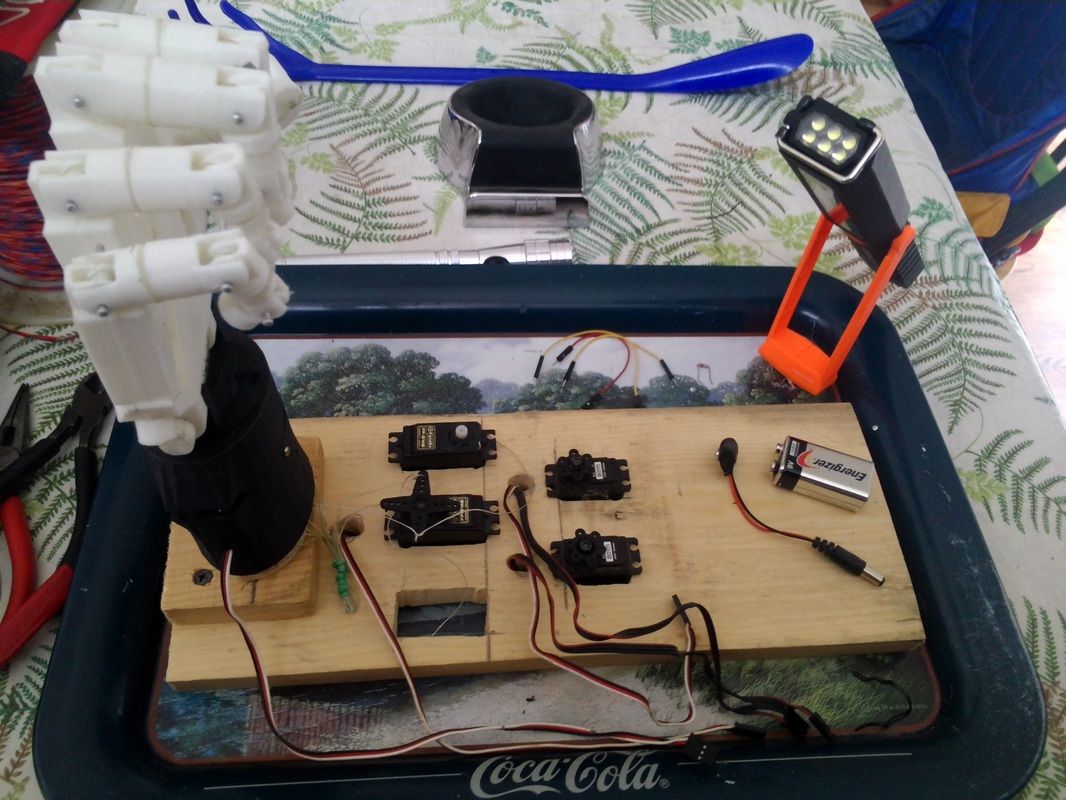
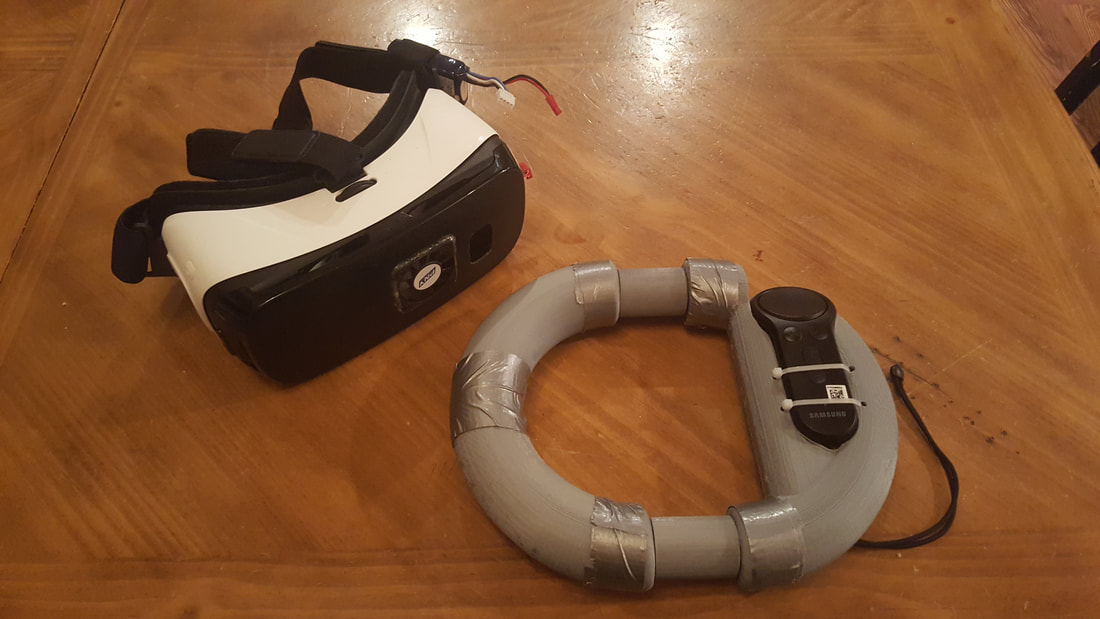
Since I first got my hands on the GearVR controller I've been enjoying the natural feel of point and click controls, first person shooting, flight simulator and even golf and sword controls. I was pleased to find some driving games that were compatible with the GearVR controller, but I found that one handed driving just didn't feel right. I've been trying to teach myself 3D modelling, using Autodesk Fusion 360, so I decided to design and build a steering wheel mount for the GearVR controller. Check out this awesome Instructable.
http://www.instructables.com/id/Steering-Wheel-for-GearVR-Controller

Autodesk Fusion 360

Autodesk Fusion 360 offers a full featured free trial. After the free trial is up, you can keep the modelling software for free as an educator, student or hobbyist.
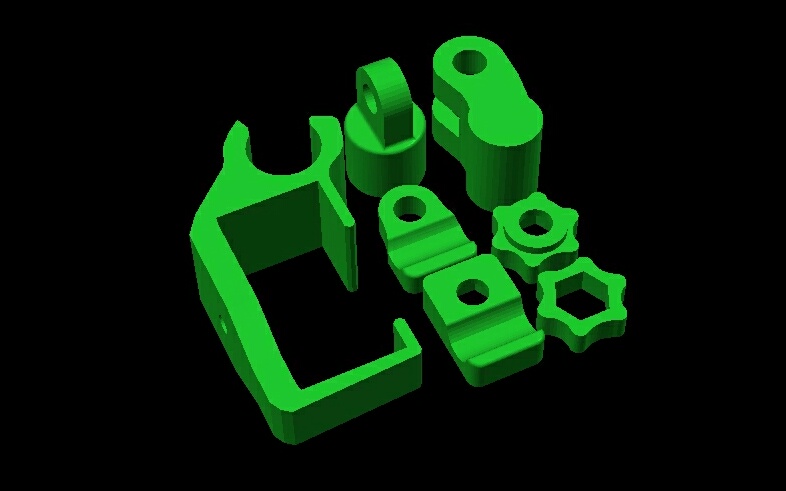
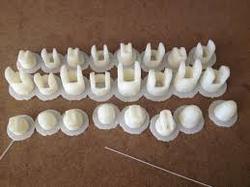
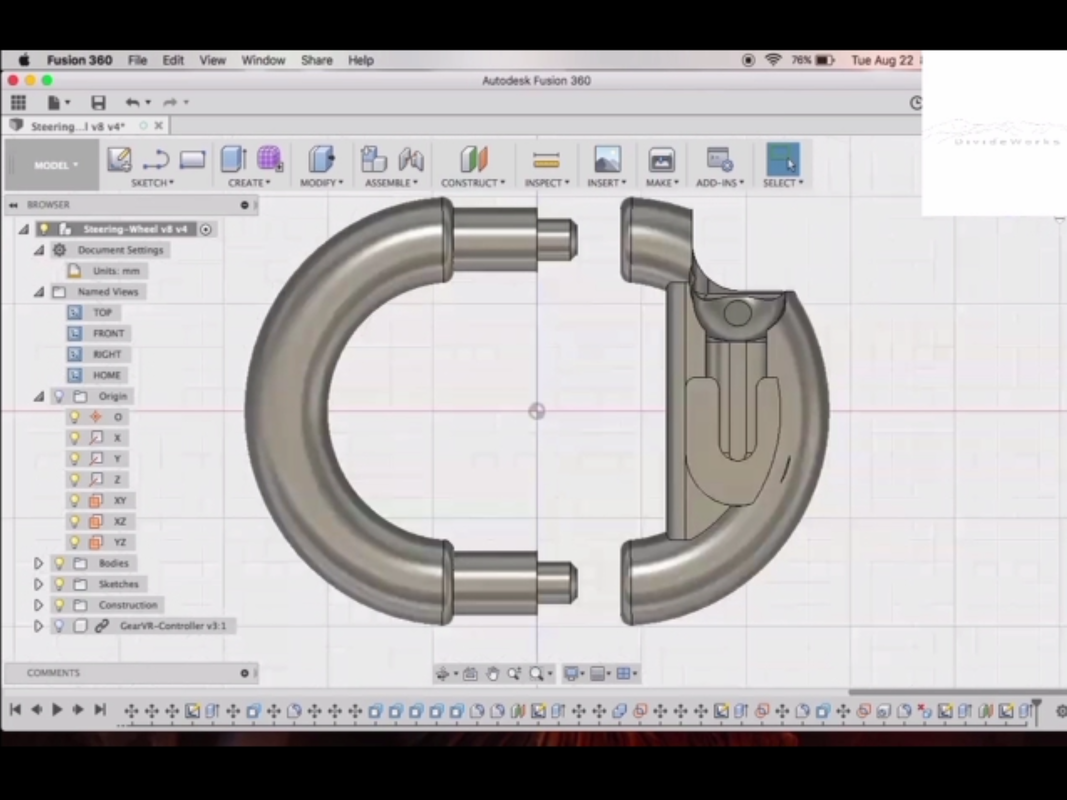
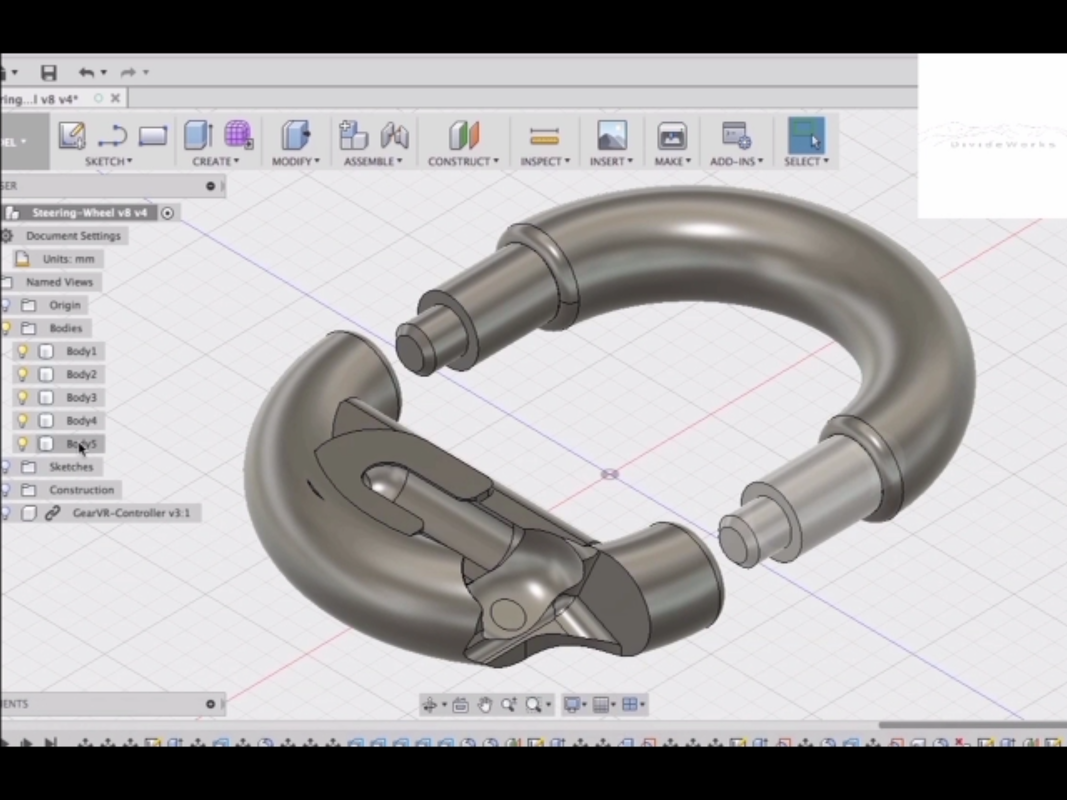
My first step was to model a copy of the GearVR controller. I would need that layer to cutout a mold from the steering wheel mount at the end. Since I'm new to 3D modelling I tried to keep things as simple as possible.
Picture
Once the model was complete, I was able to select each part or body of the steering wheel mount and save each part as a separate .stl file. The .stl files are ready to be used by a 3D printing slicer program like Cura.

Cura

Picture
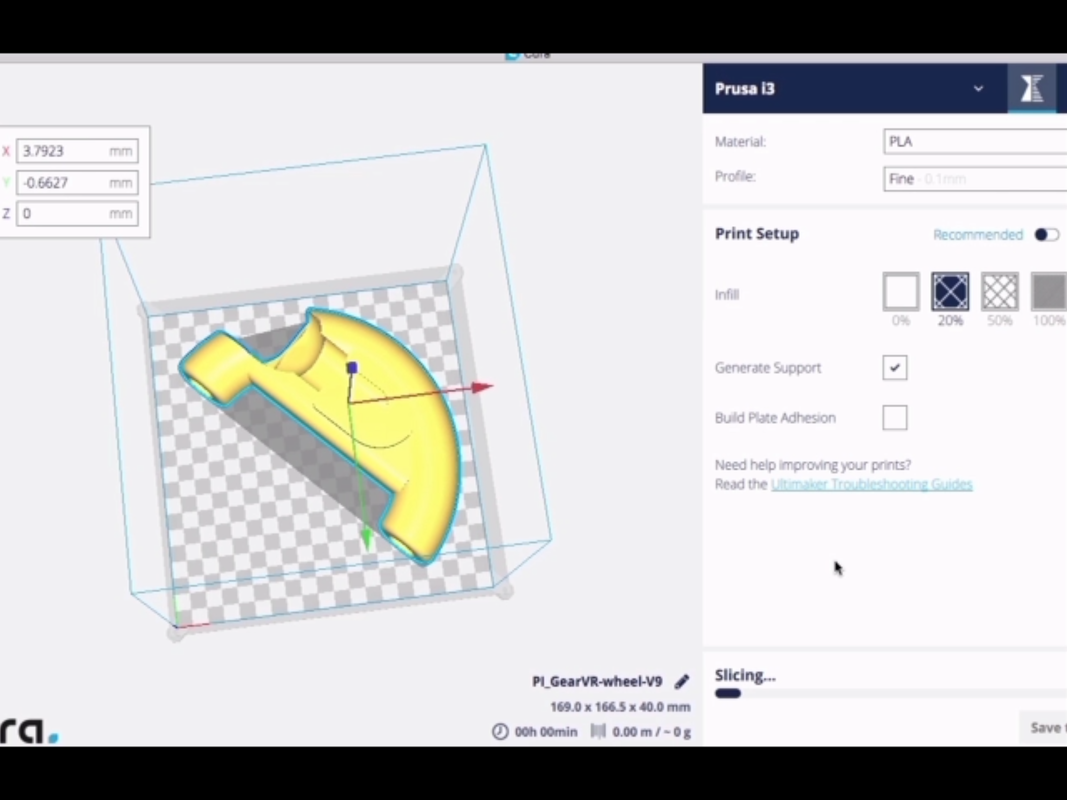
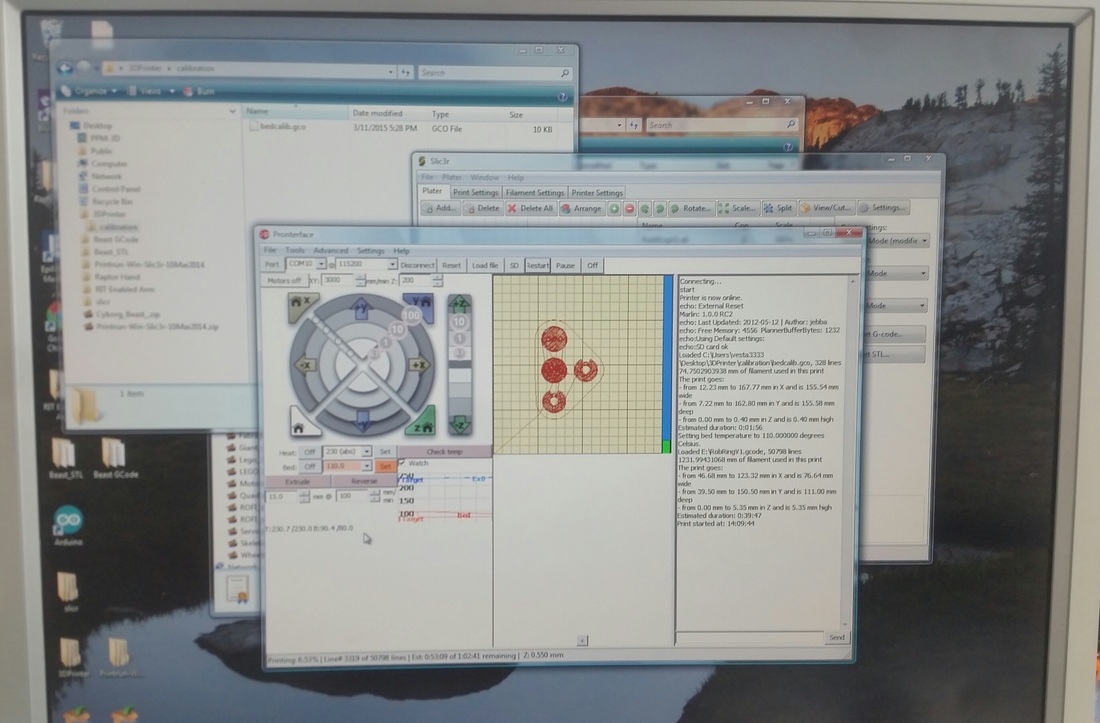
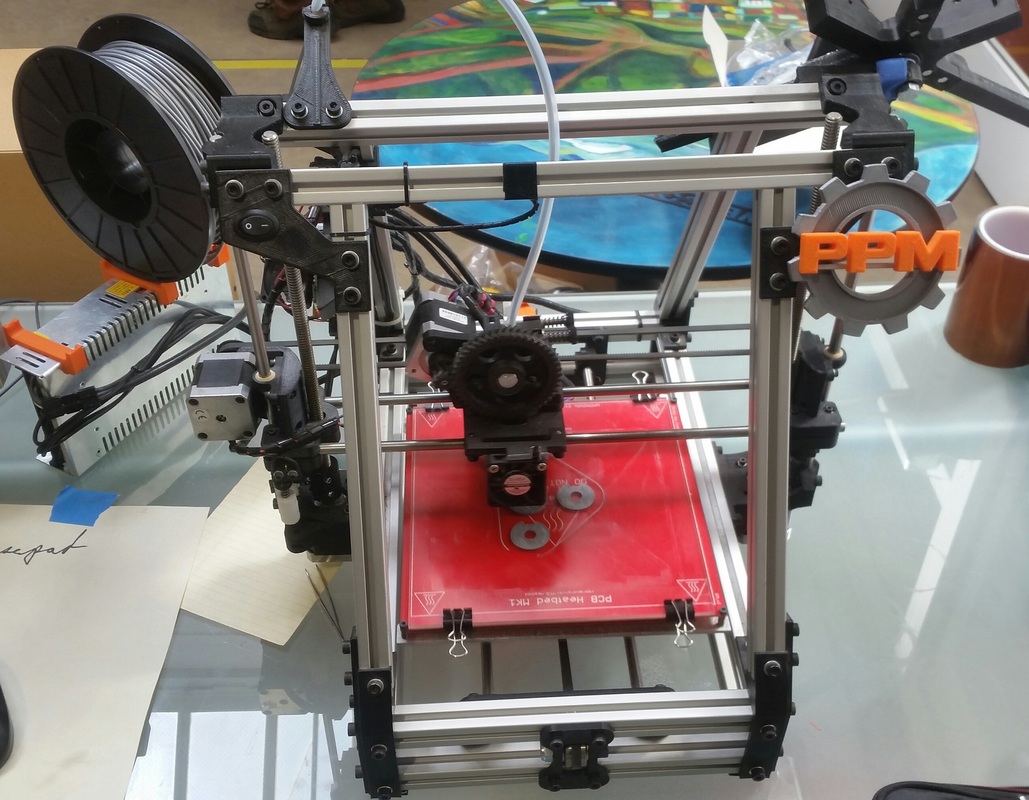
Cura is a free slicer program that does a great job generating .gcode tool path files for 3D printers. I use Octoprint to run my Anet A8 Prusa i3 clone 3D printer. My Octoprint has an older version of Cura built in and is capable of slicing .stl files internally, but I prefer to slice the files on my laptop and send the .gcode to Octoprint ready for printing.

Octoprint

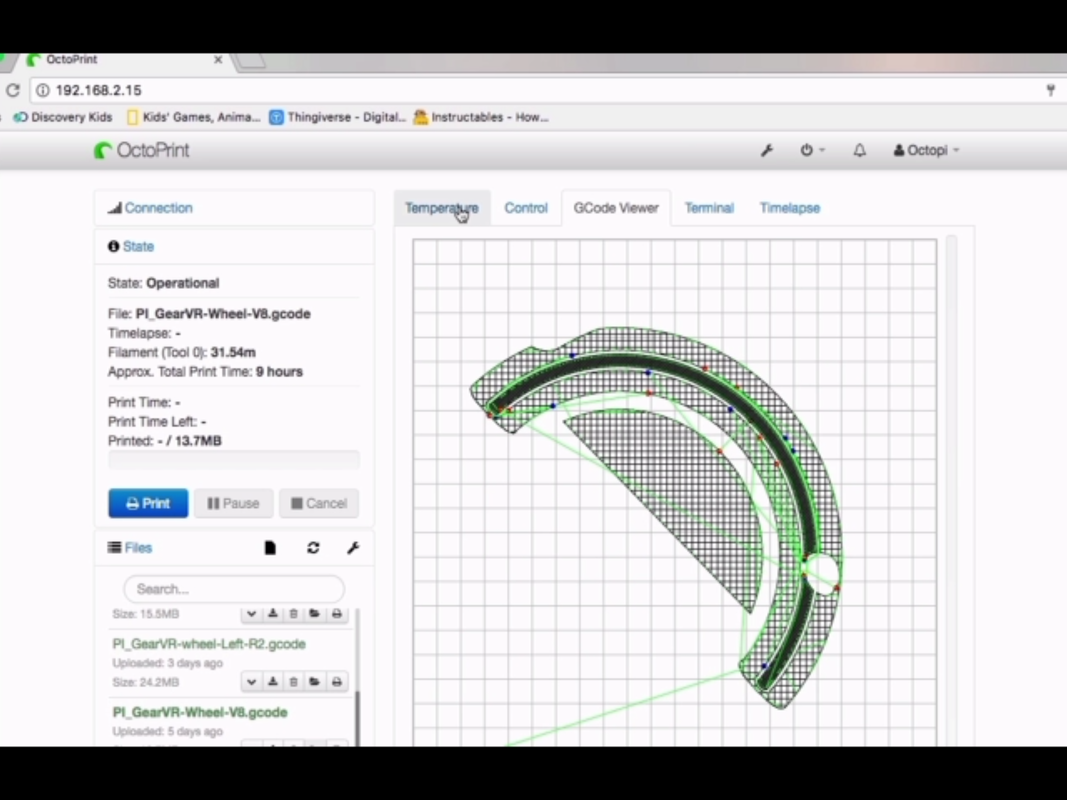
If you own a 3D printer, I highly recommend Octoprint. Octoprint installs on a Raspberry Pi and allows you to control the printer wirelessly over your Wi-Fi network. Octoprint also comes ready to support many popular webcams to allow remote monitoring and recording of timelapse video of your prints.

Compatible Games

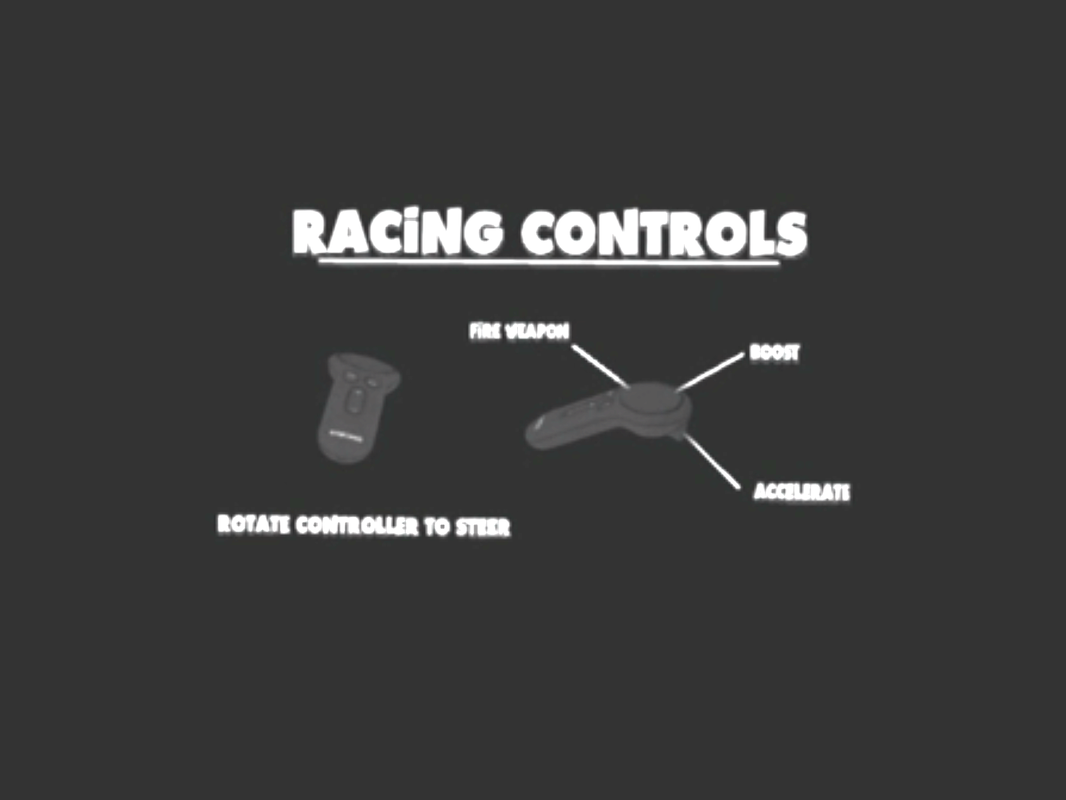
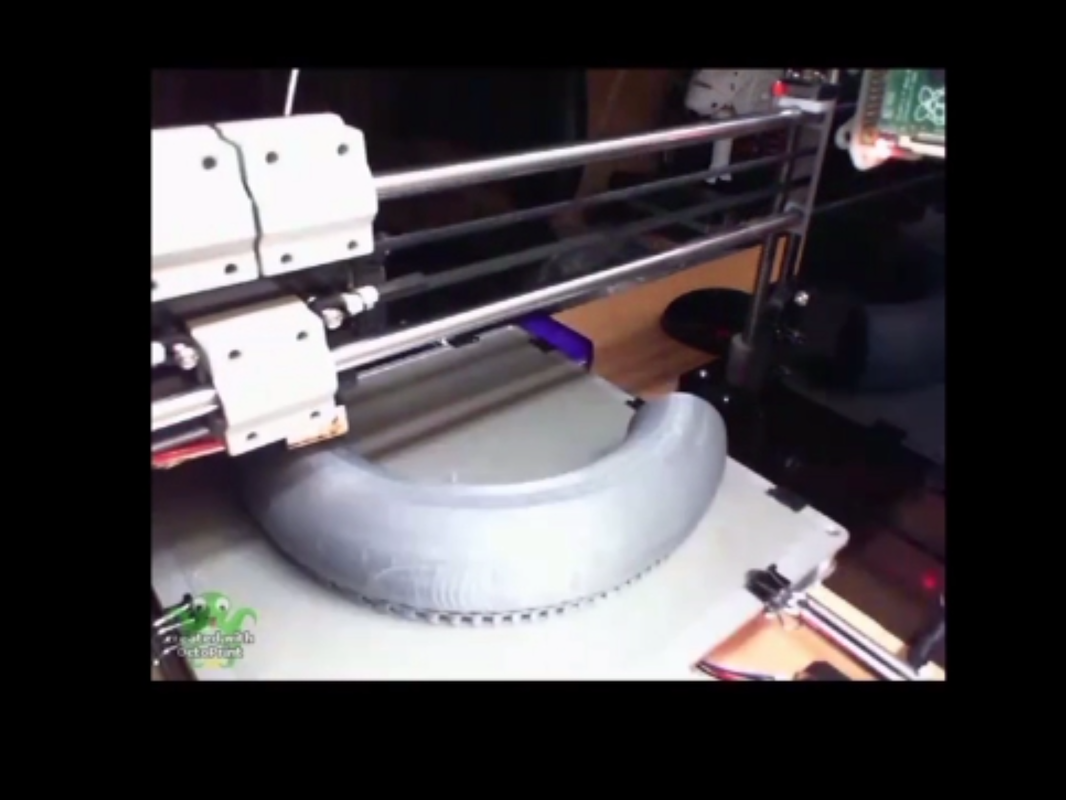
I've tested VR Karts and Overtake so far. Both of those games work flawlessly with the Steering wheel mount control. I have seen a couple new games recently in the gallery apps section of the Oculus store, which I will be trying out soon. Below is a fast forward look at the design, build, and play steps.
0 Comments

InMoov Hand With MyRobotLab Voice Control

7/24/2015

 
Picture
With previous success animating my InMoov hand with arduino its time to get started with My Robot Lab.  There are useful tutorials available on the MyRobotLab website at http://myrobotlab.org/tutorials
At first I was a little nervous about using the command line interface (cli) but after saving the mrl.jar file to my c drive and typing the commands into the cli exactly as shown on the "starting a new mrl" tutorial I was pleasantly surprised to see a graphical user interface (gui) for MyRobotLab (mrl)
Picture
Java? Python? Whatt are these guys talking about?
MyRobotLab is written in Java, so it should run on Windows or Linux.  Inside of MyRobotLab there are many useful services, including the Python Service which allows code written in Python to interact with the other services.  The Arduino microcontroller is supported by the Arduino service in MyRobotLab and can be used to connect inputs and outputs to MyRobotLab.
Picture
Below is a video using MyRobotLab conneted to my InMoov right arm, through an Arduino.  The Arduino has the mrlcomm.ino sketch installed and MyRobotLab is running a modified version of the Inmoov.minimal.py example code with custom gestures created using the InMoov gesture creator service.  See more on my instructable Making InMoov Move.

Success!  Or as they say at My Robot Lab "worky"!

Pikes Peak MakerSpace

4/3/2015

 
Picture
I was excited to hear that a Makerspace would be opening in the Pikes Peak region and I couldn't help, but go and check out what they had to offer.
The Pikes Peak Makerspace will be holding their official Grand Opening April 25th, 2015.  Ramping up with open houses every week in April.  The Makerspace is located in Manitou Springs, inside the MAC or Manitou Art Center.

Learn more at www.pikespeakmakerspace.org

Unlike the PPLD 21C facility, known as the 21st Century Library, members here can take a two hour class on how to use the 3D printer and software and then get hands on, turning models into tangible objects.
Picture
Picture
In the photos above you can see some servo pulleys being converted from an .stl file 3D model to .gcode and then being printed out, to be used on the In Moov hand project.

In addition to the 3D printer station, I found a complete 3D modelling station with professional software packages installed for members to use. Here you can create 3D cad drawings that can be converted to .stl files for the printer or .svg files for the laser cutter shown below.
Picture
Picture
The laser cutter can cut through and carve out detailed shapes and images In wood, leather, plexiglass and more.  

The space is also loaded with more traditional, metal and wood working tools and equipment.  With a little imagination, knowhow and time, there's not much that can't be built here.
Picture

PS3 Dual Shock Controller Mount For Smart Phone

3/8/2015

0 Comments

 
Since it worked so well for VR games I figured it would also be useful and improve the gaming experience on standard mobile games as well.  So I started searching for a PS3 Dual Schock Android Mount on Thingiverse and my search was rewarded with this model http://www.thingiverse.com/thing:508838
Picture
In researching a game pad to use with my Dive VR headset I learned a PS3 Dual Shock controller could be used with an Android phone using a USB OTG adapter.  From what I've read it may be possible to use the PS3 controller wirelessly, using bluetooth, but this requires a rooted phone and I'm not ready to go there yet.  Once I had my PS3 controller plugged into my phone all I had to do was push the PS button to link the two and use the game pad with my VR headset.
I was able to take the stl file from Thingiverse to the library to have the parts printed.  I only needed to add a short 5" piece of allthread, a few hex nuts and a 1-1/2" bolt to assemble the mount.  I also modified the mount by drilling a hole for the micro USB connection to the controller.
Picture
0 Comments

InMoov

2/21/2015

0 Comments

 
Picture
Picture
I came across the InMoov project while I was browsing Thingaverse for something to 3D print and knew immediately I would have to accept the challenge of building the hand.  If you have never heard of InMoov you can check it out Here on the InMoov Home Page. To get started, I decided to try the finger starter.  I figured if I could get the index finger to work then the hand should be doable.  I had the parts for the index finger and the finger sarter base printed and I set up an Arduino Uno with a servo.  I was able to thread fishing line through the finger and attach to the servo.  With a simple sketch uploaded to the Arduino, I had the index finger working with three types of control.

Picture
With the index finger a succes, it was time to move forward with the hand.  Since I have no 3D printer, I had to use a combination of 3Dhubs.com and the local library MakerSpace to get the parts printed.  I've found 3Dhubs to be a great resource for affordable printing services, with hubs in my local area and more than 10,000 hubs globally to choose from.  However, I had the parts for the right hand printed for 5 cents a gram at the MakerSpace in my local library.  Keeping the parts organized is key here.

Picture
After hours of careful sanding and drilling, I had all the parts fitting together nicely and moving freely.  A little epoxy and 100lb fishing line and the hand was taking shape.  I don't have the forearm and servo bed printed yet, but can't wait to start animating the hand.
Picture
0 Comments
<<Previous

    Author

    As a midnight maker I am inspired by the open source community to contribute and share some of the projects I have attempted.

    Categories

    All
    3D Printing
    Arduino
    Crafts
    Drones
    Electronics
    InMoov
    LED
    Natural User Interface
    POV
    VR

    Archives

    August 2017
    February 2017
    November 2016
    October 2016
    September 2016
    July 2016
    March 2016
    February 2016
    November 2015
    September 2015
    July 2015
    April 2015
    March 2015
    February 2015
    January 2015
    February 2014

"We cannot solve a problem by using the same kind of thinking we used when we created them."  [Albert Einstein]