DivideWorks
  • HOME
  • PROJECTS
  • CONTACT

4 SIDED PYRAMID HOLOGRAPHIC DISPLAYS

11/26/2015

0 Comments

 
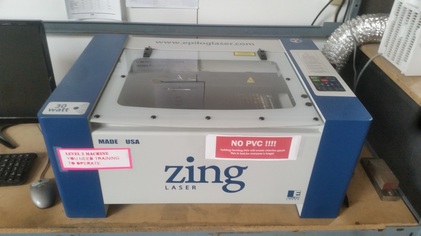
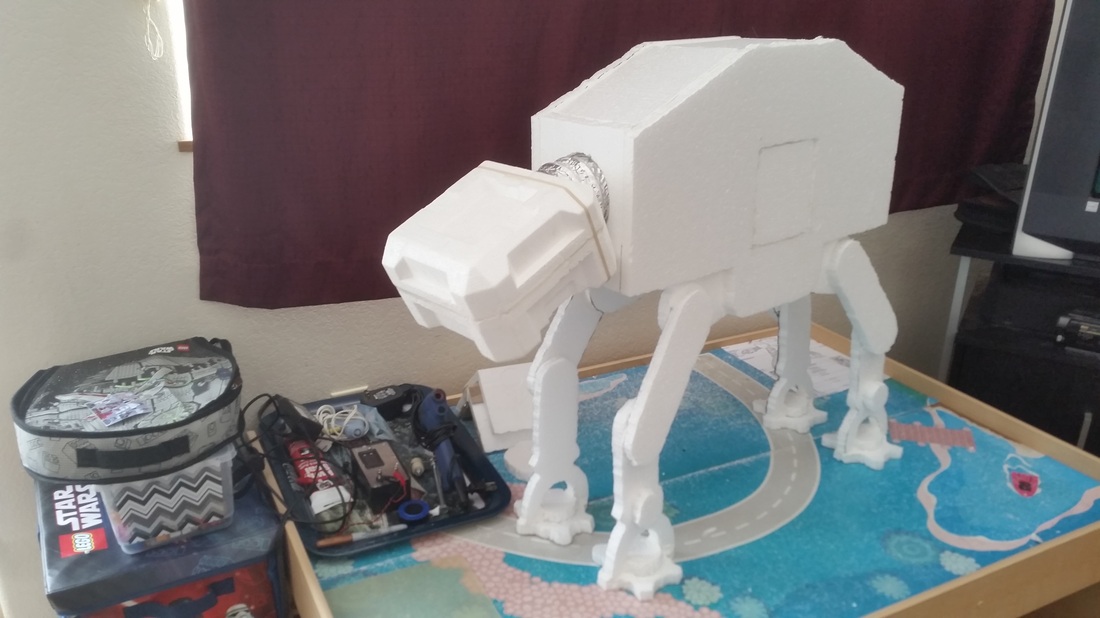
This is an easy way to create a display that will amaze.  Your 3D models and even home videos will appear to float in the center of the pyramid.  In the video above I used an old computer monitor and a Raspberry PI B+, but this effect can be achieved using a smart phone or tablet.  To make this effect work you will need to make a pyramid of clear plastic.  Thickness of the plastic is not important.  I've made these using thin sheeting from toy packaging, from CD cases and acrylic sheets.  The one in the video above was laser cut on an Epilog 3000 out of 1/16" Acrylic from Lowe's.  The pattern below was drawn to scale, on a 18" x 12" sheet, in Inkscape.  Inkscape is a free, open source vector graphics program.  Inkscape save files as .svg files, but the pattern below was exported as a .pdf and is formatted, to print to an Epilog laser cutter.  I used clear scotch tape, to tape the four side together, flat on a table.  Then, I used the tape as a hinge to form the sides and tape the fourth and final corner.  To keep it stable I used epoxy to glue the outside corners.
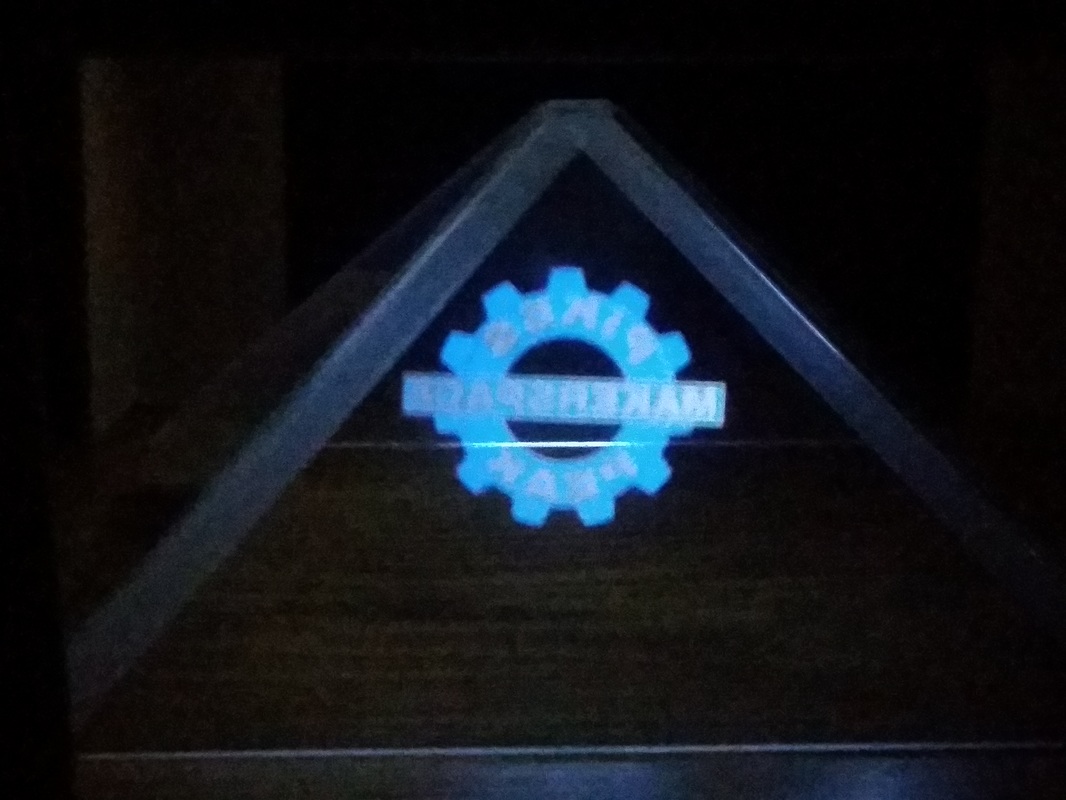
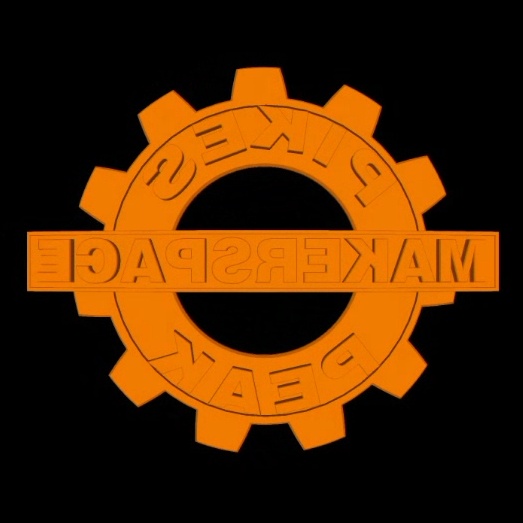
The image that is seen in the pyramid is the reflection of the image displayed on the screen.  If your model or image has a distinct left and right side or text, then you will need to display the mirror image of your object.  Depending on whether you are mounting your screen up or down will determine whether you need to display your model right side up or upside down. To do this, I had to figure out some new tools in SKetchup.  The easiest method, for creating the mirror image, I found was to select the object and right click.  You can then choose "Flip Along" and choose an axis.
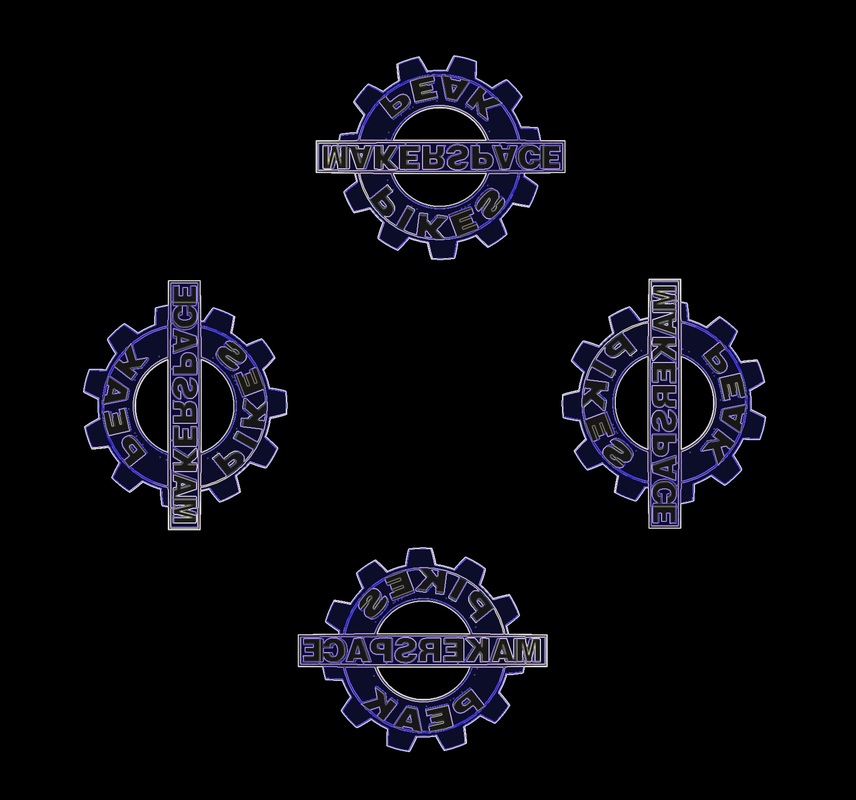
The screenshots above go through the process, in sketchup, of changes the background to black, adjusting the view to eliminate the axis lines, changing the views and saving scenes and finally exporting an animation. I have skipped the basic steps of starting Sketchup, creating the block and coloring the blocks sides.  There are tons of great tutorials to get you started in Sketchup.  Blender is another good 3D modeling software that could provide similar functions.  Below is the exported animation from Sketchup.
Picture
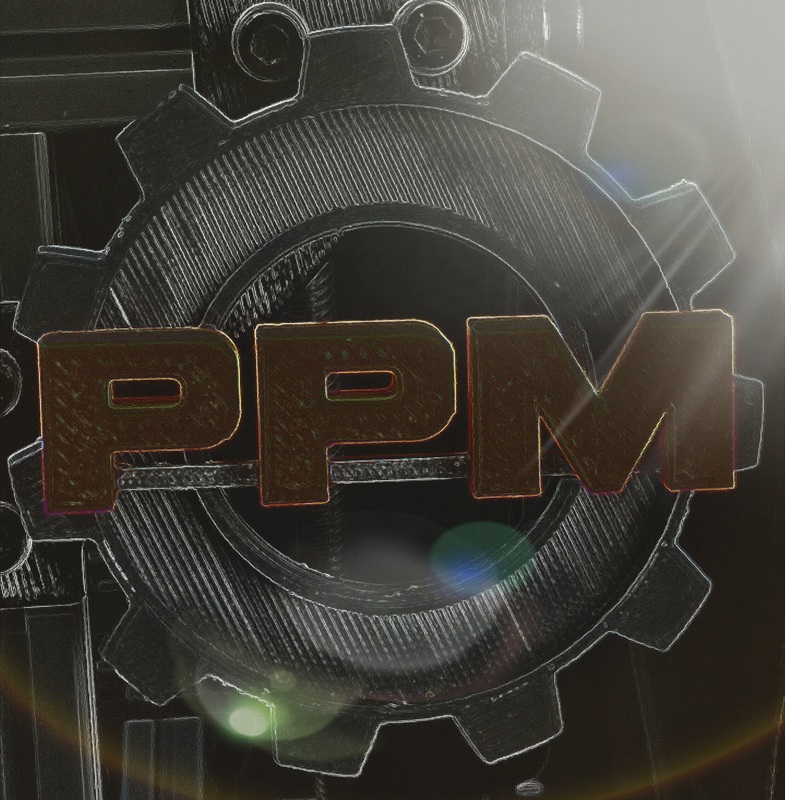
Now that you have an animation of your 3D model you just need to multiply the video, rotating each copy 90 degrees.  I used Adobe Premier Pro for the PPM Logo video because I have access to Premier Pro at the Makerspace and I wanted to be able to save the video, for use on the RaspberryPi.  Holapex is a great app for Android that will automatically take your video and set it up for a 4 sided pyramid hologram display, using your phone or tablet as the display.
0 Comments

Pikes Peak MakerSpace

4/3/2015

 
Picture
I was excited to hear that a Makerspace would be opening in the Pikes Peak region and I couldn't help, but go and check out what they had to offer.
The Pikes Peak Makerspace will be holding their official Grand Opening April 25th, 2015.  Ramping up with open houses every week in April.  The Makerspace is located in Manitou Springs, inside the MAC or Manitou Art Center.

Learn more at www.pikespeakmakerspace.org

Unlike the PPLD 21C facility, known as the 21st Century Library, members here can take a two hour class on how to use the 3D printer and software and then get hands on, turning models into tangible objects.
Picture
Picture
In the photos above you can see some servo pulleys being converted from an .stl file 3D model to .gcode and then being printed out, to be used on the In Moov hand project.

In addition to the 3D printer station, I found a complete 3D modelling station with professional software packages installed for members to use. Here you can create 3D cad drawings that can be converted to .stl files for the printer or .svg files for the laser cutter shown below.
Picture
Picture
The laser cutter can cut through and carve out detailed shapes and images In wood, leather, plexiglass and more.  

The space is also loaded with more traditional, metal and wood working tools and equipment.  With a little imagination, knowhow and time, there's not much that can't be built here.
Picture

Hot Knife

3/1/2015

0 Comments

 
Picture
This is a tool that I've been missing for far too long.  With all the styrofoam I have been hoarding for years it was time to make a hot knife, so I could start carving up patterns, prototypes and molds for lost foam casting.  As it turned out I had everything I needed on hand.
  • Some random brackets, nuts & bolts
  • An old electric heater
  • An old 12V 850mA transformer
Picture
The NiCad wire from the heater element makes a perfect hot knife and the ceramic insulators are ideal for insulating from both the heat and the electrical current.  The wire can also be shaped and reshaped many times without breaking.
Picture
I started with a 12Vdc 850mA transformer wired to each terminal, but burnt up three before I found a 9Vdc 750 mA transformer that worked more consistently.  Even with the 9 volt power adapter the transformer gets too hot to hold after about 45 seconds of use.  I decided to use my adjustable power supply, which proved to be the superior choice for extended use of the hot knife.
Picture
Picture
0 Comments

    Author

    As a midnight maker I am inspired by the open source community to contribute and share some of the projects I have attempted.

    Categories

    All
    3D Printing
    Arduino
    Crafts
    Drones
    Electronics
    InMoov
    LED
    Natural User Interface
    POV
    VR

    Archives

    August 2017
    February 2017
    November 2016
    October 2016
    September 2016
    July 2016
    March 2016
    February 2016
    November 2015
    September 2015
    July 2015
    April 2015
    March 2015
    February 2015
    January 2015
    February 2014

"We cannot solve a problem by using the same kind of thinking we used when we created them."  [Albert Einstein]