DivideWorks
  • HOME
  • PROJECTS
  • CONTACT

InMoov Hand With MyRobotLab Voice Control

7/24/2015

 
Picture
With previous success animating my InMoov hand with arduino its time to get started with My Robot Lab.  There are useful tutorials available on the MyRobotLab website at http://myrobotlab.org/tutorials
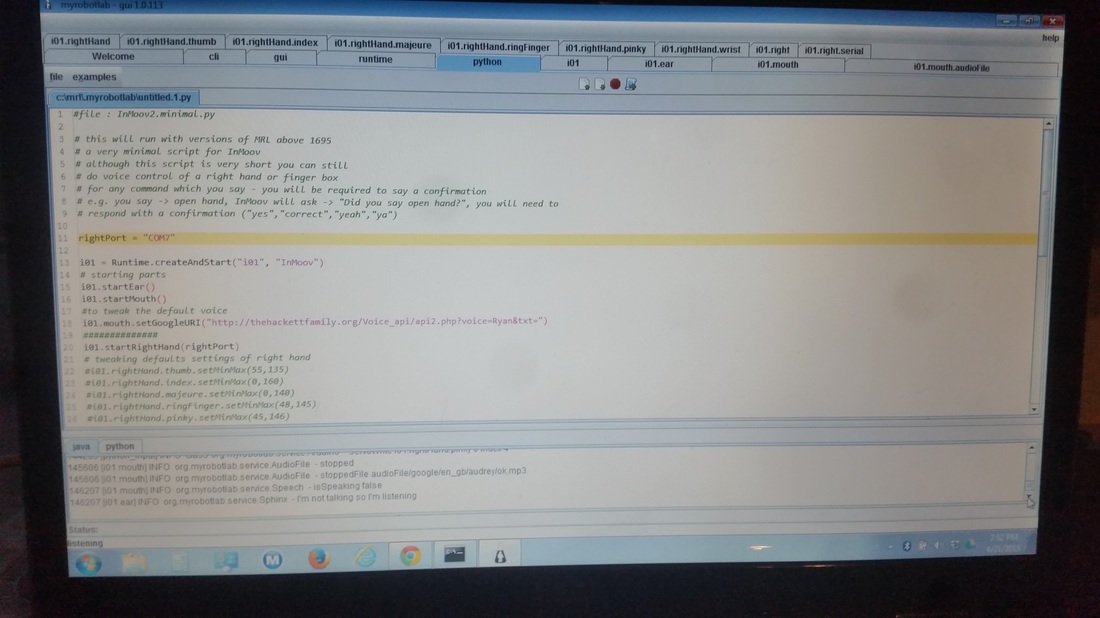
At first I was a little nervous about using the command line interface (cli) but after saving the mrl.jar file to my c drive and typing the commands into the cli exactly as shown on the "starting a new mrl" tutorial I was pleasantly surprised to see a graphical user interface (gui) for MyRobotLab (mrl)
Picture
Java? Python? Whatt are these guys talking about?
MyRobotLab is written in Java, so it should run on Windows or Linux.  Inside of MyRobotLab there are many useful services, including the Python Service which allows code written in Python to interact with the other services.  The Arduino microcontroller is supported by the Arduino service in MyRobotLab and can be used to connect inputs and outputs to MyRobotLab.
Picture
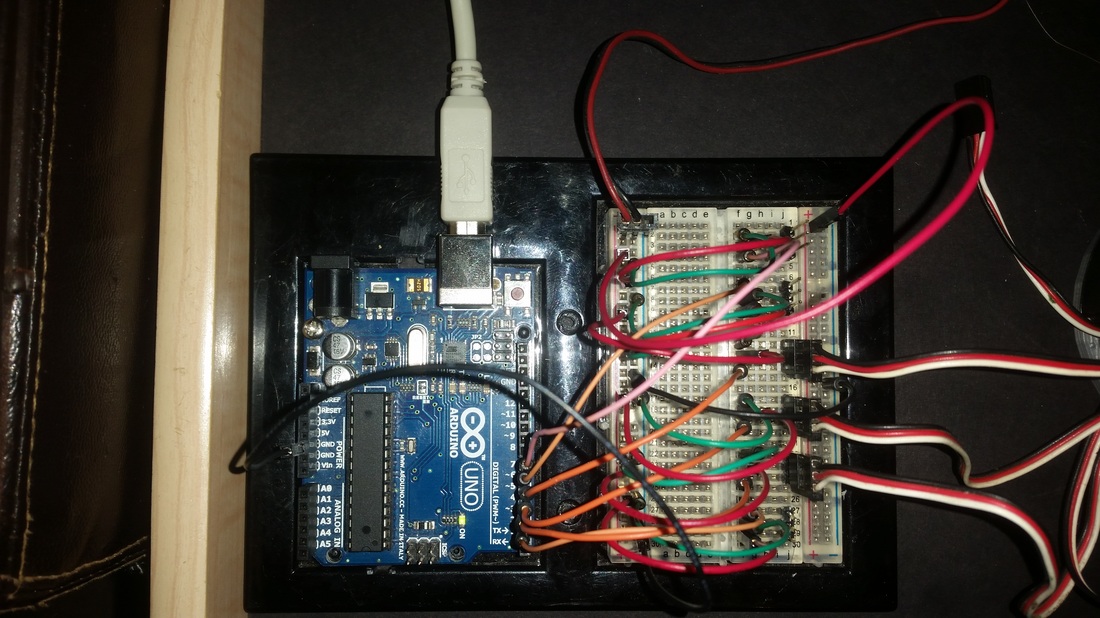
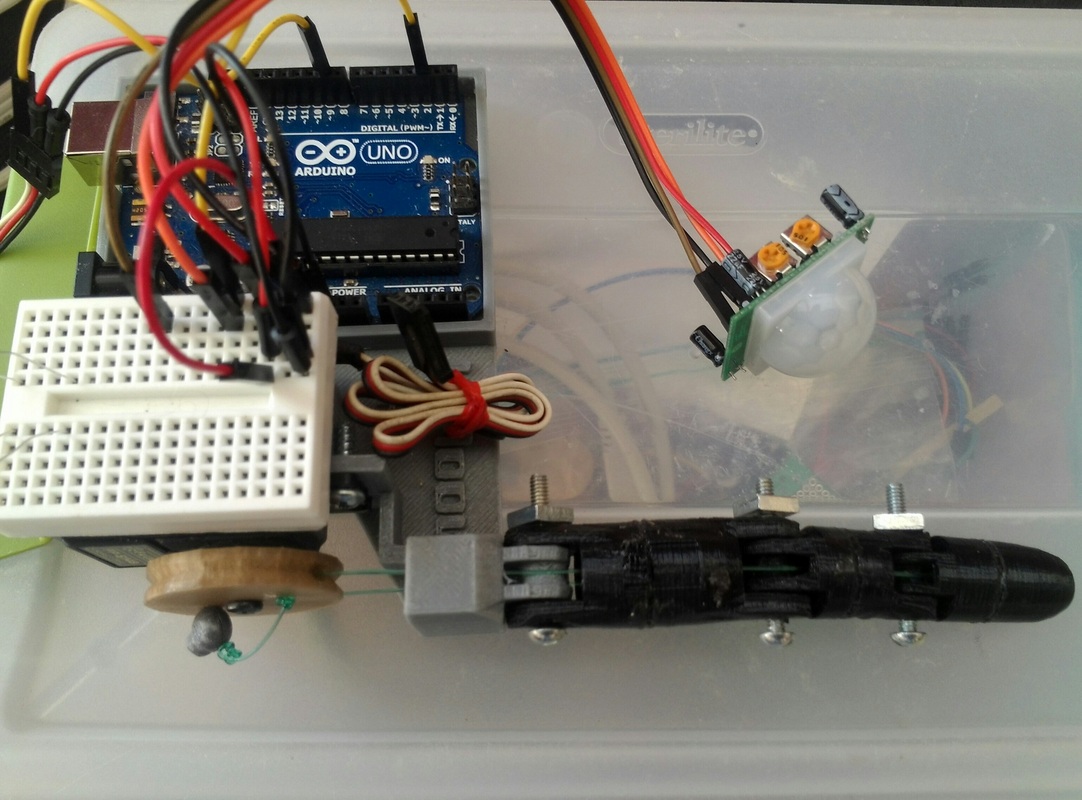
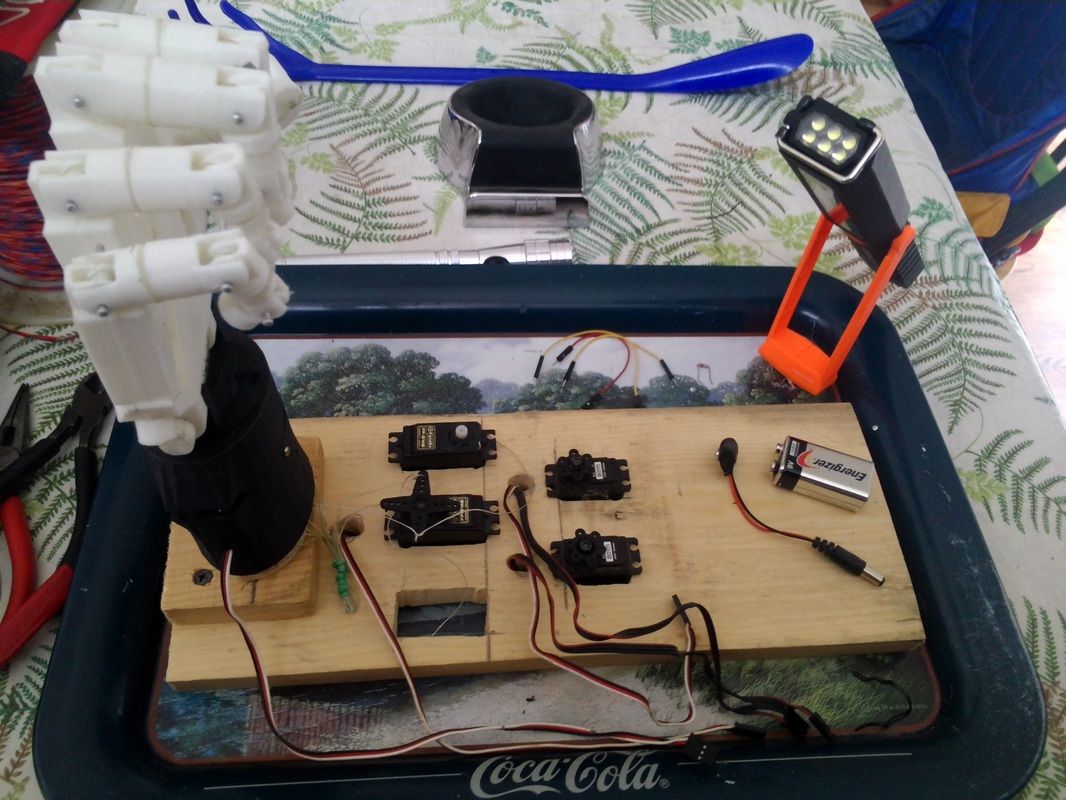
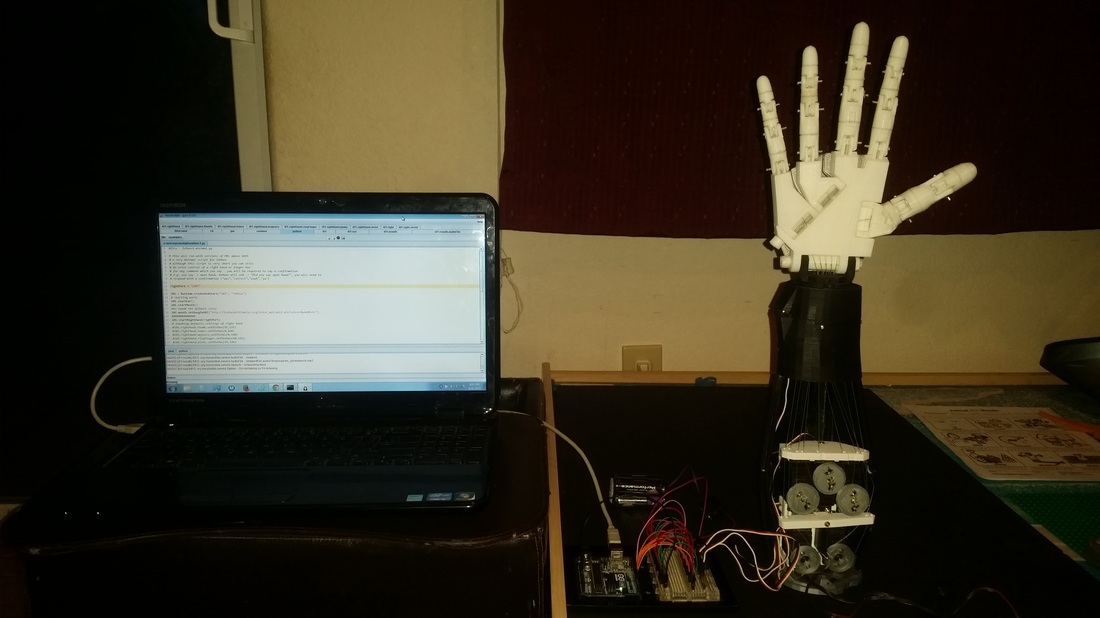
Below is a video using MyRobotLab conneted to my InMoov right arm, through an Arduino.  The Arduino has the mrlcomm.ino sketch installed and MyRobotLab is running a modified version of the Inmoov.minimal.py example code with custom gestures created using the InMoov gesture creator service.  See more on my instructable Making InMoov Move.

Success!  Or as they say at My Robot Lab "worky"!

InMoov

2/21/2015

0 Comments

 
Picture
Picture
I came across the InMoov project while I was browsing Thingaverse for something to 3D print and knew immediately I would have to accept the challenge of building the hand.  If you have never heard of InMoov you can check it out Here on the InMoov Home Page. To get started, I decided to try the finger starter.  I figured if I could get the index finger to work then the hand should be doable.  I had the parts for the index finger and the finger sarter base printed and I set up an Arduino Uno with a servo.  I was able to thread fishing line through the finger and attach to the servo.  With a simple sketch uploaded to the Arduino, I had the index finger working with three types of control.

Picture
With the index finger a succes, it was time to move forward with the hand.  Since I have no 3D printer, I had to use a combination of 3Dhubs.com and the local library MakerSpace to get the parts printed.  I've found 3Dhubs to be a great resource for affordable printing services, with hubs in my local area and more than 10,000 hubs globally to choose from.  However, I had the parts for the right hand printed for 5 cents a gram at the MakerSpace in my local library.  Keeping the parts organized is key here.

Picture
After hours of careful sanding and drilling, I had all the parts fitting together nicely and moving freely.  A little epoxy and 100lb fishing line and the hand was taking shape.  I don't have the forearm and servo bed printed yet, but can't wait to start animating the hand.
Picture
0 Comments

    Author

    As a midnight maker I am inspired by the open source community to contribute and share some of the projects I have attempted.

    Categories

    All
    3D Printing
    Arduino
    Crafts
    Drones
    Electronics
    InMoov
    LED
    Natural User Interface
    POV
    VR

    Archives

    August 2017
    February 2017
    November 2016
    October 2016
    September 2016
    July 2016
    March 2016
    February 2016
    November 2015
    September 2015
    July 2015
    April 2015
    March 2015
    February 2015
    January 2015
    February 2014

"We cannot solve a problem by using the same kind of thinking we used when we created them."  [Albert Einstein]