DivideWorks
  • HOME
  • PROJECTS
  • CONTACT

HOBBY POWER SUPPLY

2/22/2015

1 Comment

 
Picture
Picture
Picture
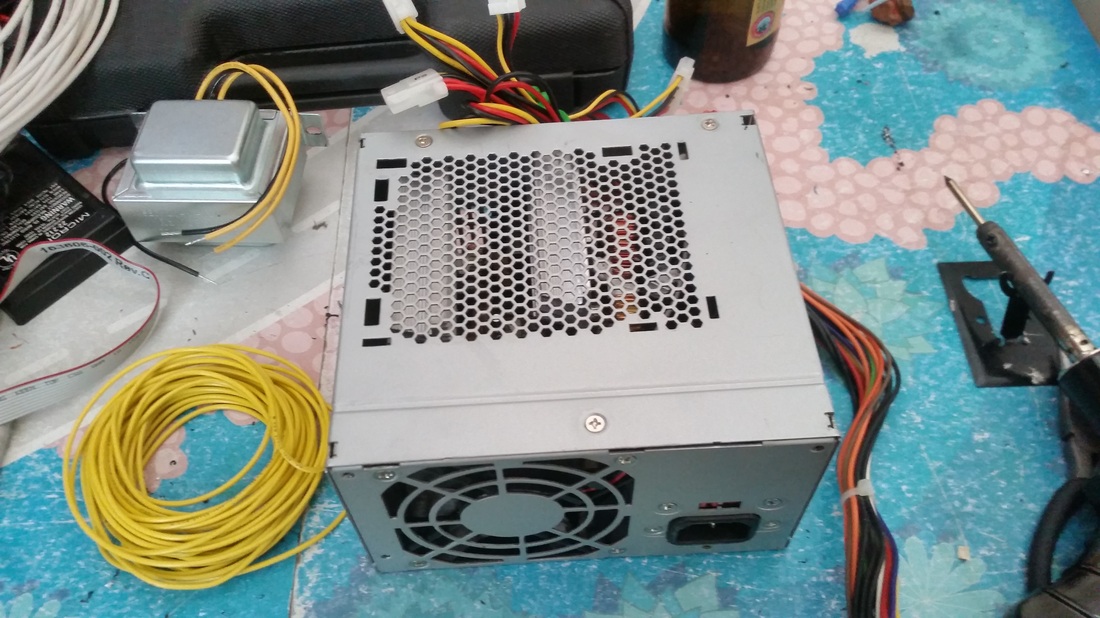
The ATX power supply can be found in many old desktop computers.  Mine came from an old PC that was running windows ME.  The ATX has 12Vdc, 5Vdc & 3.3Vdc terminals ready to go.  It also has built in overload protection, making it an ideal power supply for prototyping.
Picture
Picture
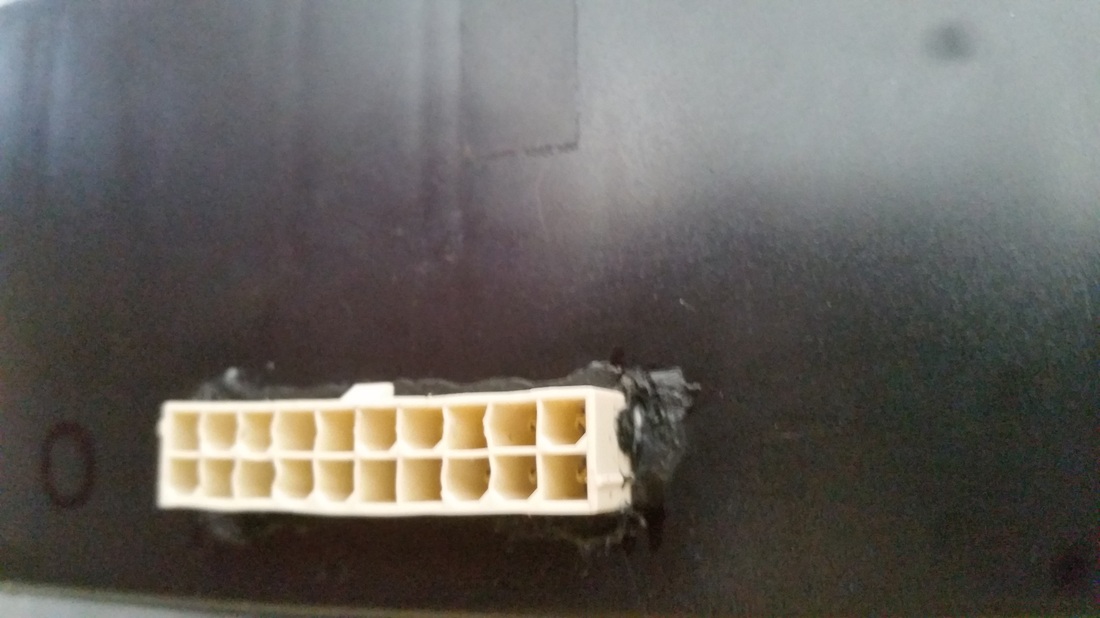
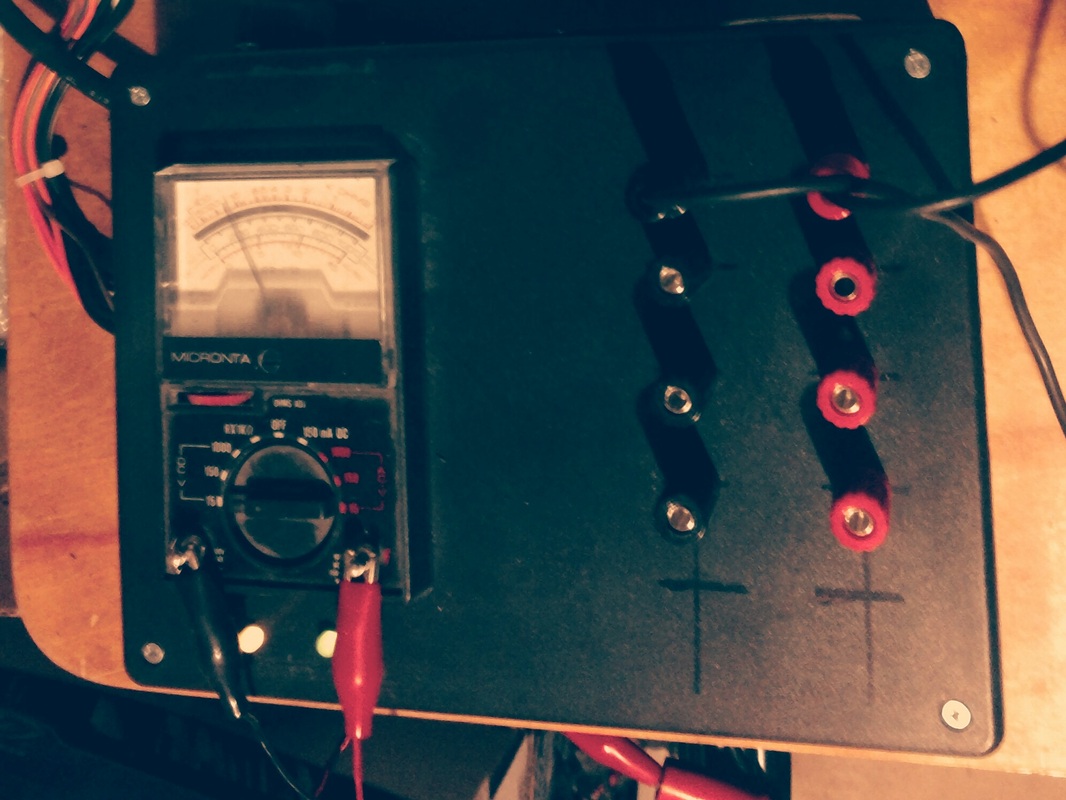
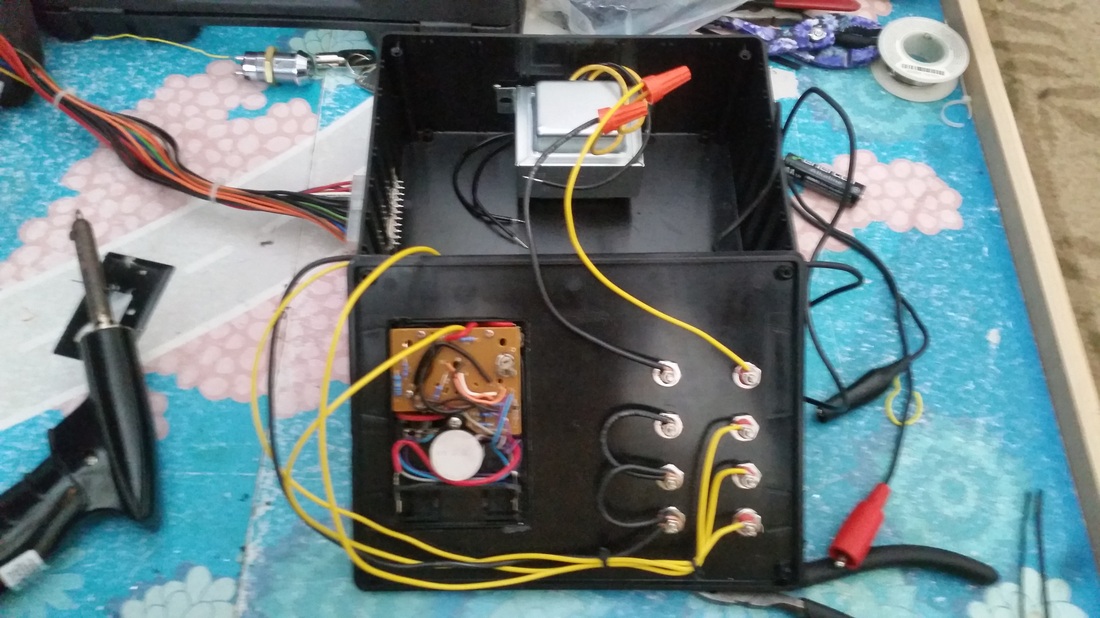
I decided to integrate a old multimeter I had laying around Into my power supply.  This will be handy when troubleshooting new circuits.  I was able to salvage the origal connector from the PCs motherboard.  To attach both the multimeter and the connector to my project enclosure, I used an old tip on my soldering iron and welded the plastics together.
Picture
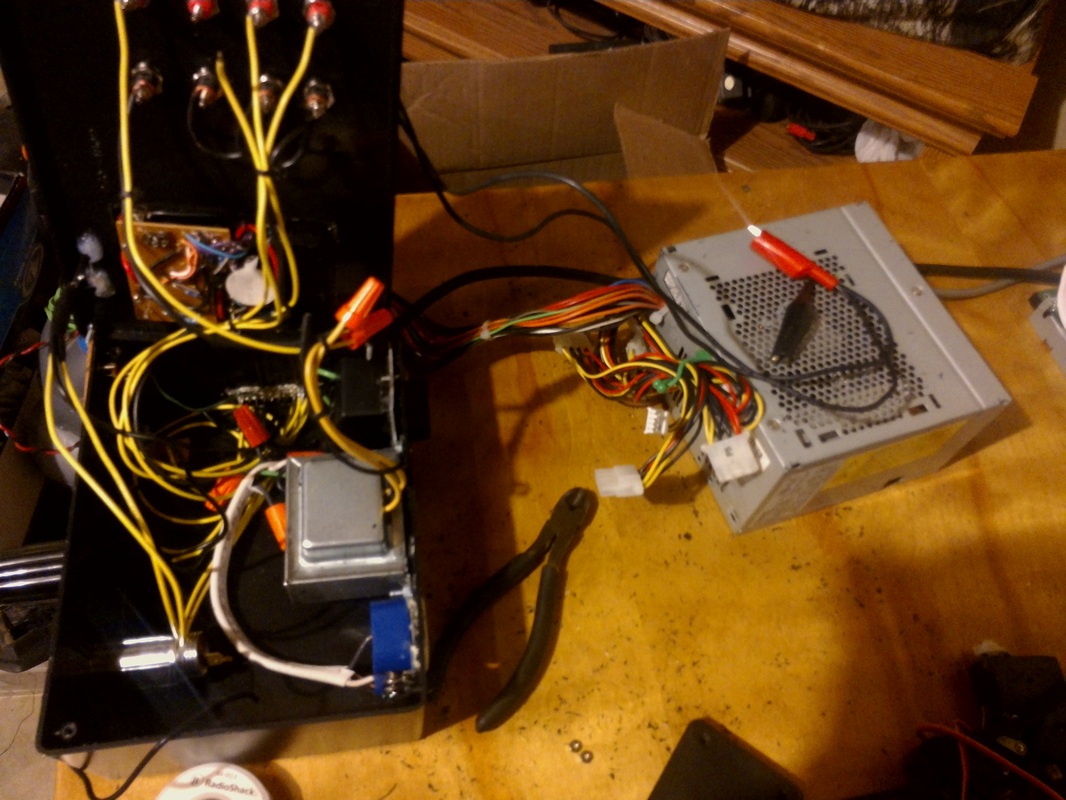
To make the most of my power supply, I decided to add some AC voltage as well.  I included a 120V to 24V AC transformer and a 120V outlet connected through a dimmer switch, which gives me a range of about 80V-120V.  Finally, I squeezed in a couple of USB ports connected to the ATX 5Vdc terminals and a 12Vdc automotive power socket connected to the 12Vdc terminals of the ATX.
Picture
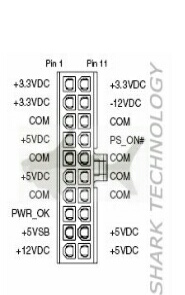
This is a typical pin layout for the ATX, although not all are the same.  By jumping one of the com pins to the PS On pin the ATX powers on.  I made this connection with an on/off switch and used one of the 5Vdc pins for a standby LED indicator.  The PWR OK pin is used for a second LED indicator.  The end result is an extremely useful, although bulky bench power supply that inludes terminals for 3.3Vdc, 5Vdc, 12Vdc, 24VAC, 80-120VAC. 
Picture

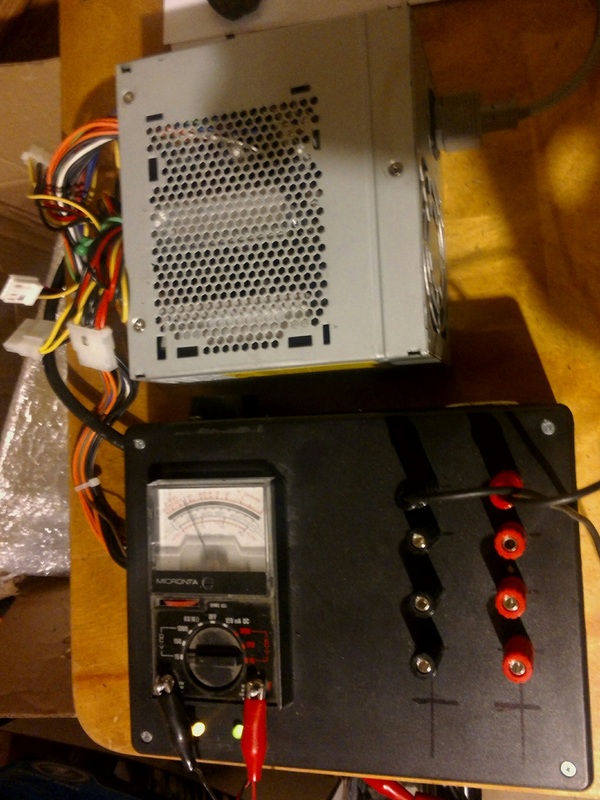
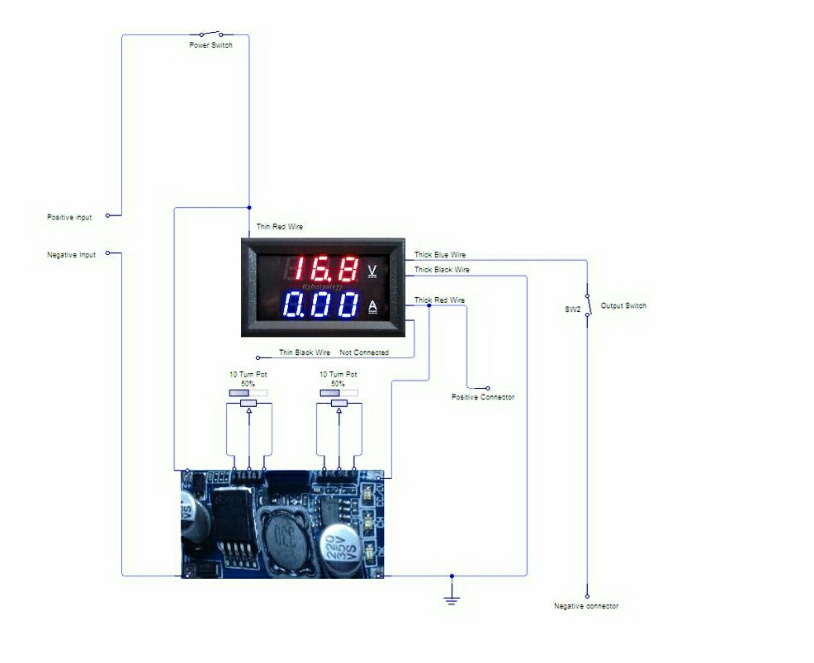
A Better Power Supply

Picture
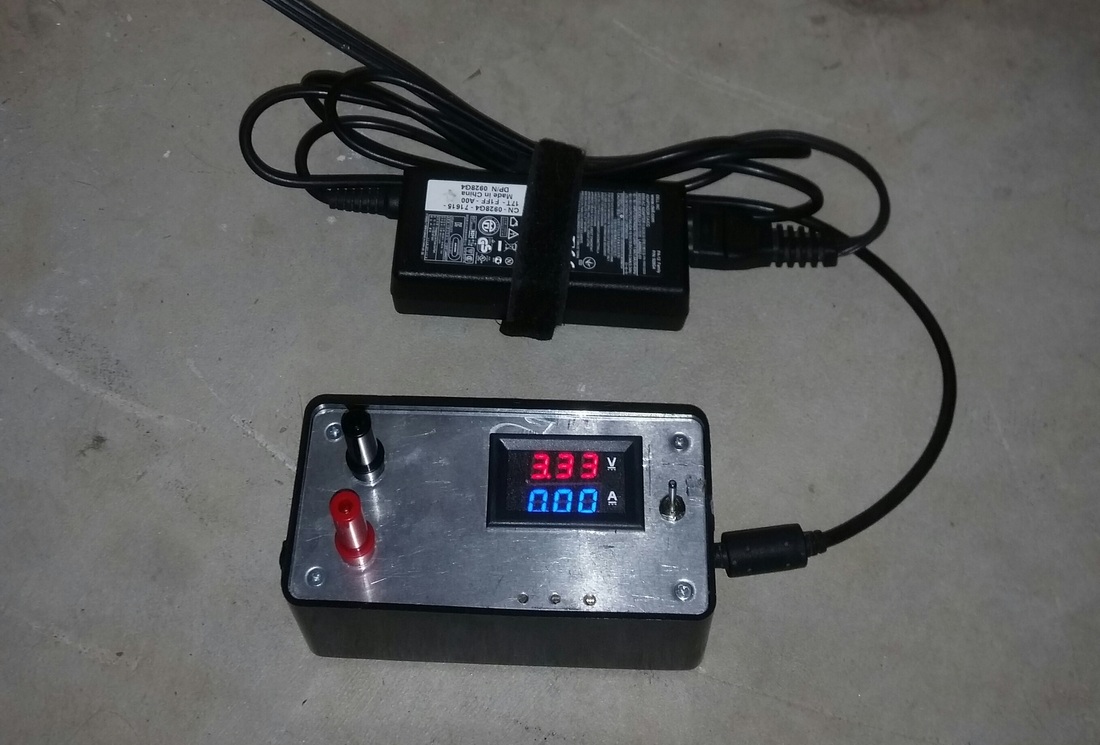
With this power supply voltage is adjustable from 0-23Vdc and amperage is adjustable from 0-3 amps.
Inspired by _http://www.instructables.com/id/DIY-Small-Bench-Power-Supply/
Picture
Picture
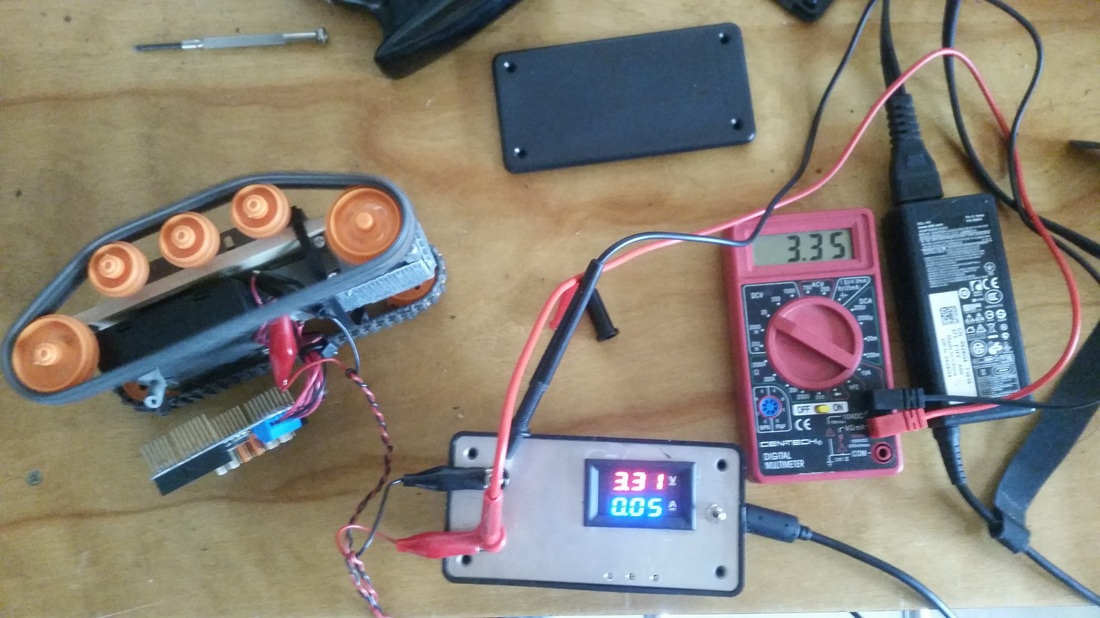
With the ability to dial in voltage and make adjustments to amperage this power supply is a huge improvement over the ATX power supply, although both have their place in my workshop.
1 Comment

InMoov

2/21/2015

1 Comment

 
Picture
Picture
I came across the InMoov project while I was browsing Thingaverse for something to 3D print and knew immediately I would have to accept the challenge of building the hand.  If you have never heard of InMoov you can check it out Here on the InMoov Home Page. To get started, I decided to try the finger starter.  I figured if I could get the index finger to work then the hand should be doable.  I had the parts for the index finger and the finger sarter base printed and I set up an Arduino Uno with a servo.  I was able to thread fishing line through the finger and attach to the servo.  With a simple sketch uploaded to the Arduino, I had the index finger working with three types of control.

Picture
With the index finger a succes, it was time to move forward with the hand.  Since I have no 3D printer, I had to use a combination of 3Dhubs.com and the local library MakerSpace to get the parts printed.  I've found 3Dhubs to be a great resource for affordable printing services, with hubs in my local area and more than 10,000 hubs globally to choose from.  However, I had the parts for the right hand printed for 5 cents a gram at the MakerSpace in my local library.  Keeping the parts organized is key here.

Picture
After hours of careful sanding and drilling, I had all the parts fitting together nicely and moving freely.  A little epoxy and 100lb fishing line and the hand was taking shape.  I don't have the forearm and servo bed printed yet, but can't wait to start animating the hand.
Picture
1 Comment

VR Headset

1/25/2015

2 Comments

 
Picture
Picture
VR headsets come in a wide variety.  From the open source Google Cardboard & Durovis Dive to the more polished and private headsets like Oculus Rift.  I have not had the pleasure of experiencing the Oculus Rift, but was able to get a taste for the technology for under $10 using the Google Cardboard template with lenses from Amazon.

When I first made the Cardboard, there were very few Apps available on Android besides the Cardboad Demo App.  Now, there are more the 50 with newtitles popping up all the time.  Besides the Apps/games there is more and more stereoscopic 3D videos available and 360 x 180 degree photospheres and video content that can trick your senses into thinking you're there.  With new content being developed for these systems, I wanted to stick with it but wasn't prepared to invest in an Oculus Rift.  Instead I decided to build an Open Dive headset, wich improves on the Cardboard by allowing adjustment on the lenses for focus, but still only cost about $30, including the cost of printing service found on 3Dhubs.com
Picture
Picture
I added a Cardboard style magnet switch to my Dive headset and bought a USB OTG cable for my Galaxy S5 so that I could use my PS3 controller for gaming.
2 Comments

POV LED Globe

1/25/2015

0 Comments

 
Picture
Picture
After building the 3x3 LED cube I thought I'd attempt a (POV) or persistence of vision project.  I found a simple 5 LED POV using Arduino on Instructables. SIMPLE POV LINK
This was a great place to start.  I originally built the simple POV on a glove that could be waved to display text.

Picture
Picture
Once I got the simple POV working it was time to up the ante.  I had seen many POV projects on cieling fans and bicycle wheels, but thought I could build a ring to make a spherical display.  Since my display was a sphere a globe seemed like an obvious choice. POV GLOBE INSTRUCTABLE
0 Comments

Android Controlled 4 Channel Bluetooth Relay

2/16/2014

0 Comments

 
Be the Master of the House with this home automation device.  Use your Android device to remote control four separate 115V appliances.  For this project I am using the bareduino plus kit from virtuabotix, a 4-channel relay board from Sainsmart, an HC-06 bluetooth module and an old power strip.  I am also using an android app and arduino sketch called Ardudroid by TechBitar that can be downloaded from the Google Play store.
After disassembling an old power strip for parts I modified my project box to fit the outlets, power switch, reset button and cord.  With some careful forming of the neutral wires I was able to connect and fit the relay board in place.  Build up the Bareduino so I can have the functionality of an Arduino without giving up my precious.  You can get more info about the build on my Instructable
0 Comments
<<Previous
Forward>>

    Author

    As a midnight maker I am inspired by the open source community to contribute and share some of the projects I have attempted.

    Categories

    All
    3D Printing
    Arduino
    Crafts
    Drones
    Electronics
    InMoov
    LED
    Natural User Interface
    POV
    VR

    Archives

    August 2017
    February 2017
    November 2016
    October 2016
    September 2016
    July 2016
    March 2016
    February 2016
    November 2015
    September 2015
    July 2015
    April 2015
    March 2015
    February 2015
    January 2015
    February 2014

"We cannot solve a problem by using the same kind of thinking we used when we created them."  [Albert Einstein]